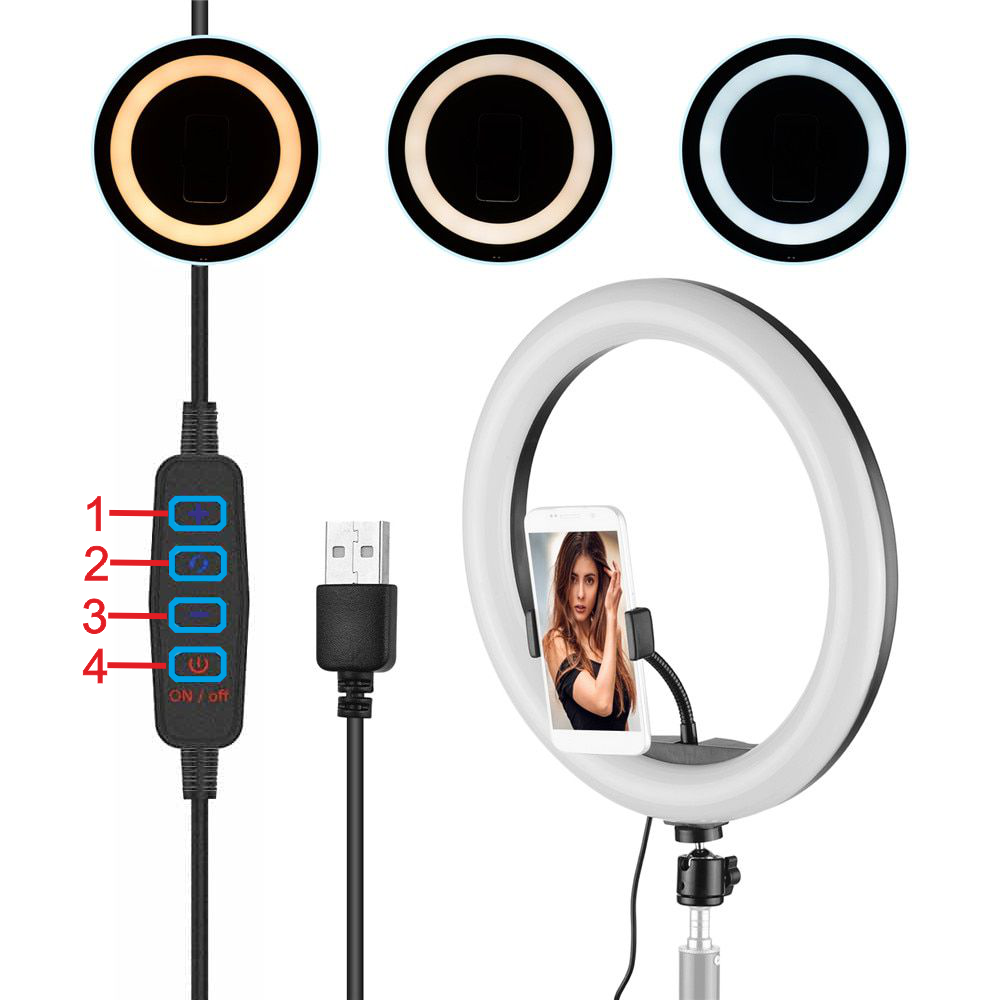
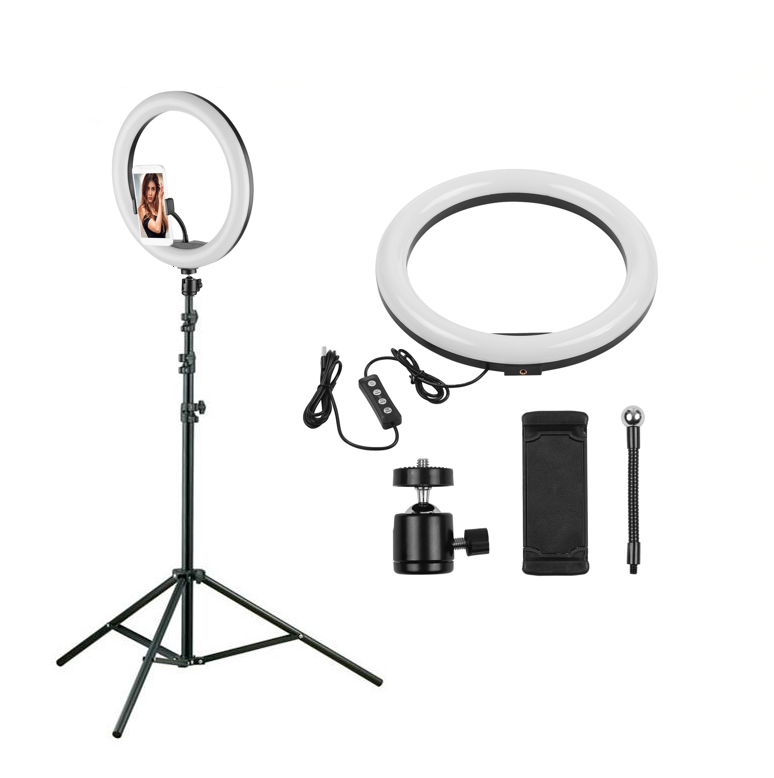
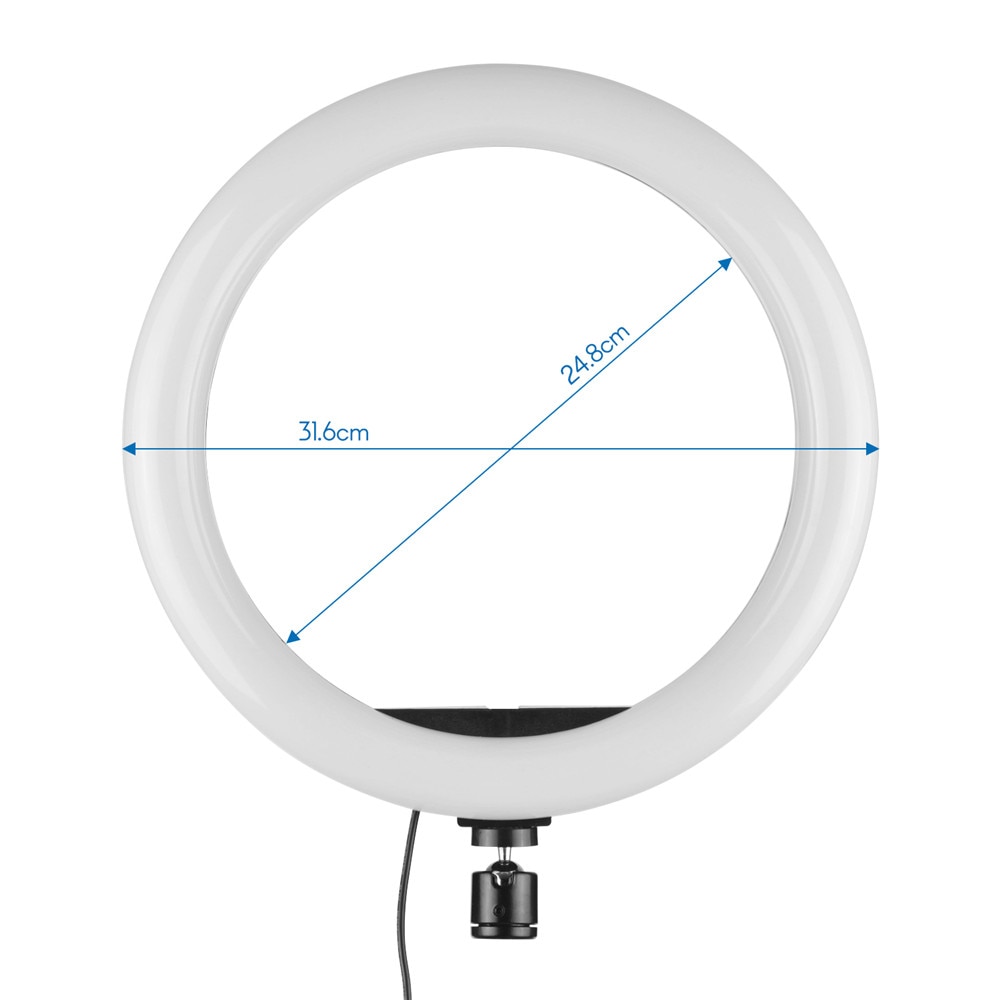
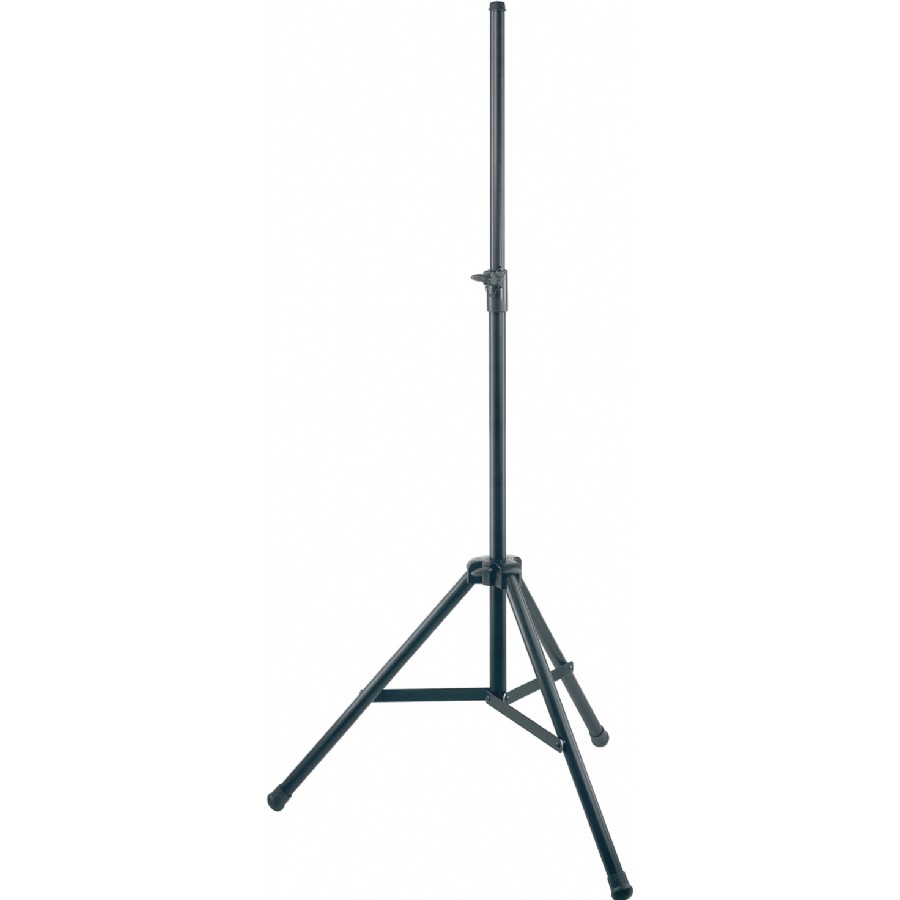
After unboxing the components, begin the process with the tripod setup.
1. First, loosen the butterfly nut located in the circular area marked 1.
2. Next, gently pull the leg struts located in section 2 in the direction of the arrows.
3. Press the section containing the butterfly nut, located at position 3, in the direction of the arrow, and simultaneously pull up the section marked 4 in the direction of the arrow.
4. Press down until the bottom struts (5) shown in the diagram below are fully extended. Then, tighten the butterfly nut (1) you loosened earlier to lock the stand.
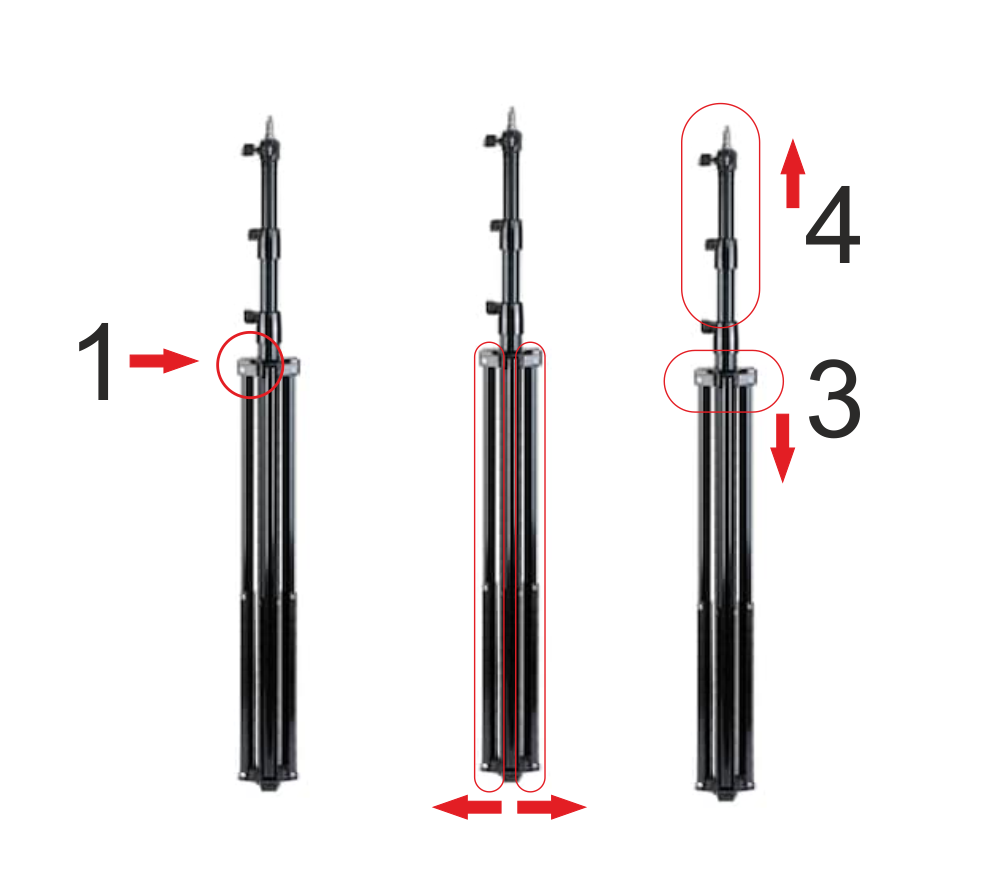
(Diagram: Tripod Leg Setup Detail)
By loosening the butterfly nuts located in section 6 and below, adjust the tripod to your desired height and tighten the nuts securely.
Place the aluminum bottom hole nut located on the underside of your Ring Light onto the screw section marked 7 and tighten it clockwise.
Tightening it a moderate amount is sufficient. There is no need to apply excessive force.
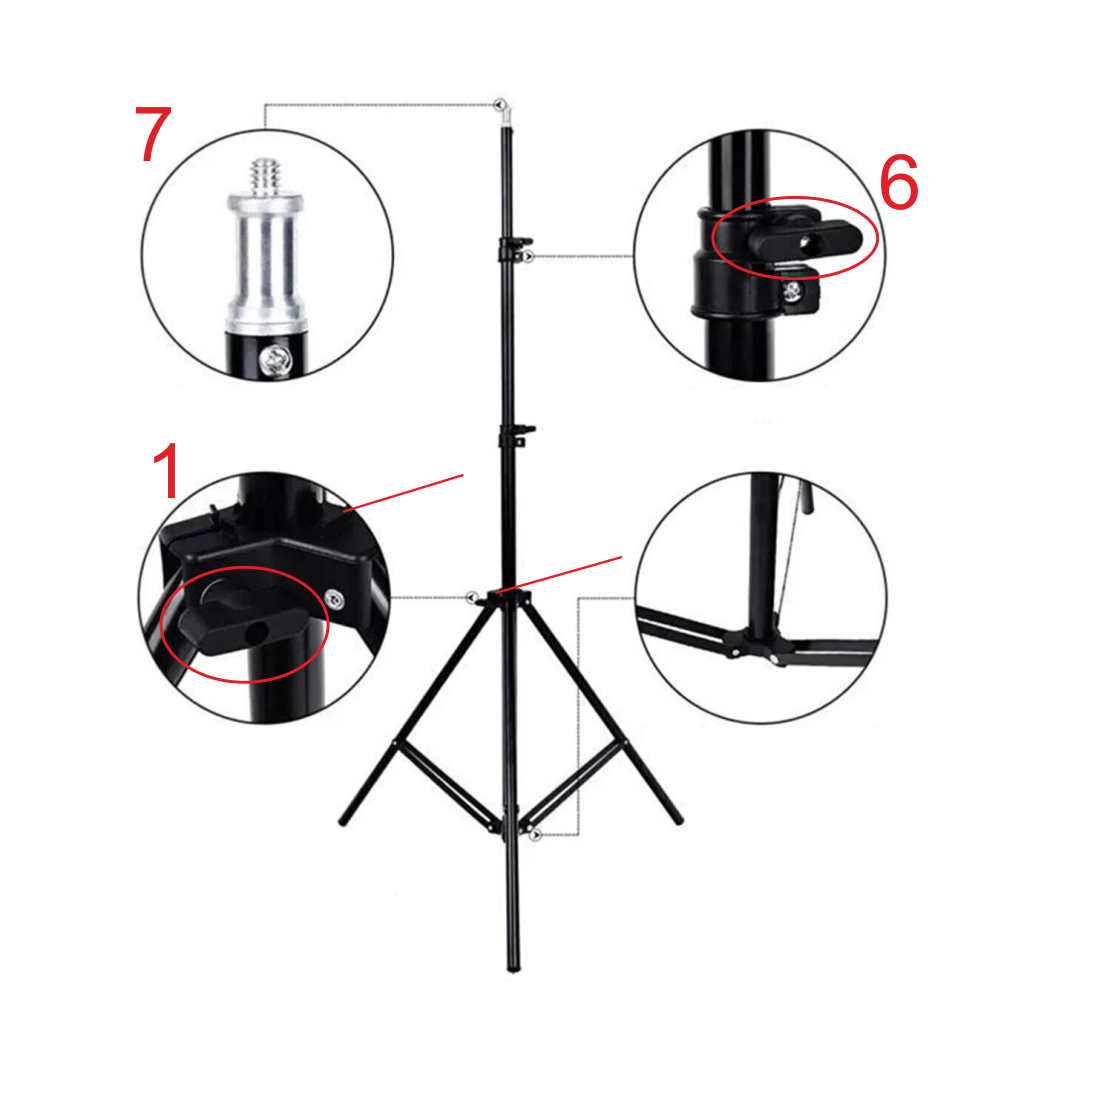
(Diagram: Mounting and Height Adjustment)
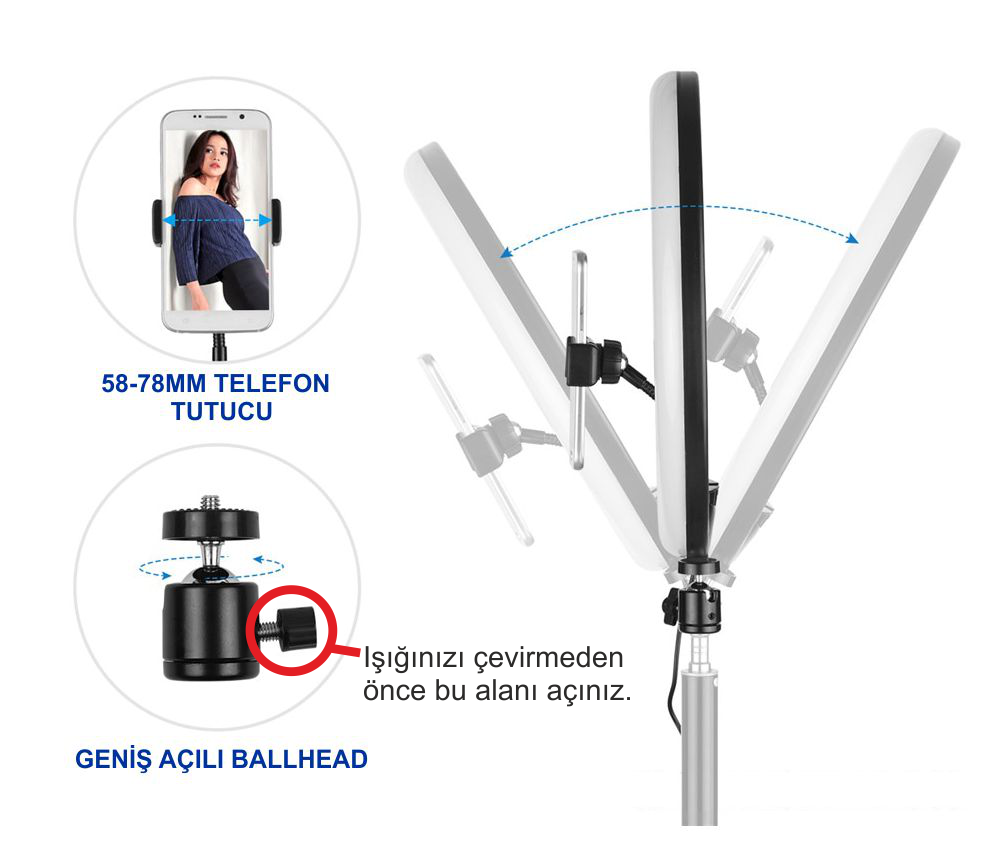
When tilting and rotating the light, you **MUST** loosen the screw located next to the piece you tightened to the aluminum section before proceeding.
Forcing the movement without loosening the screw (untightening) will cause the plastic casing to give way against the metal stand, leading to **breakage**.