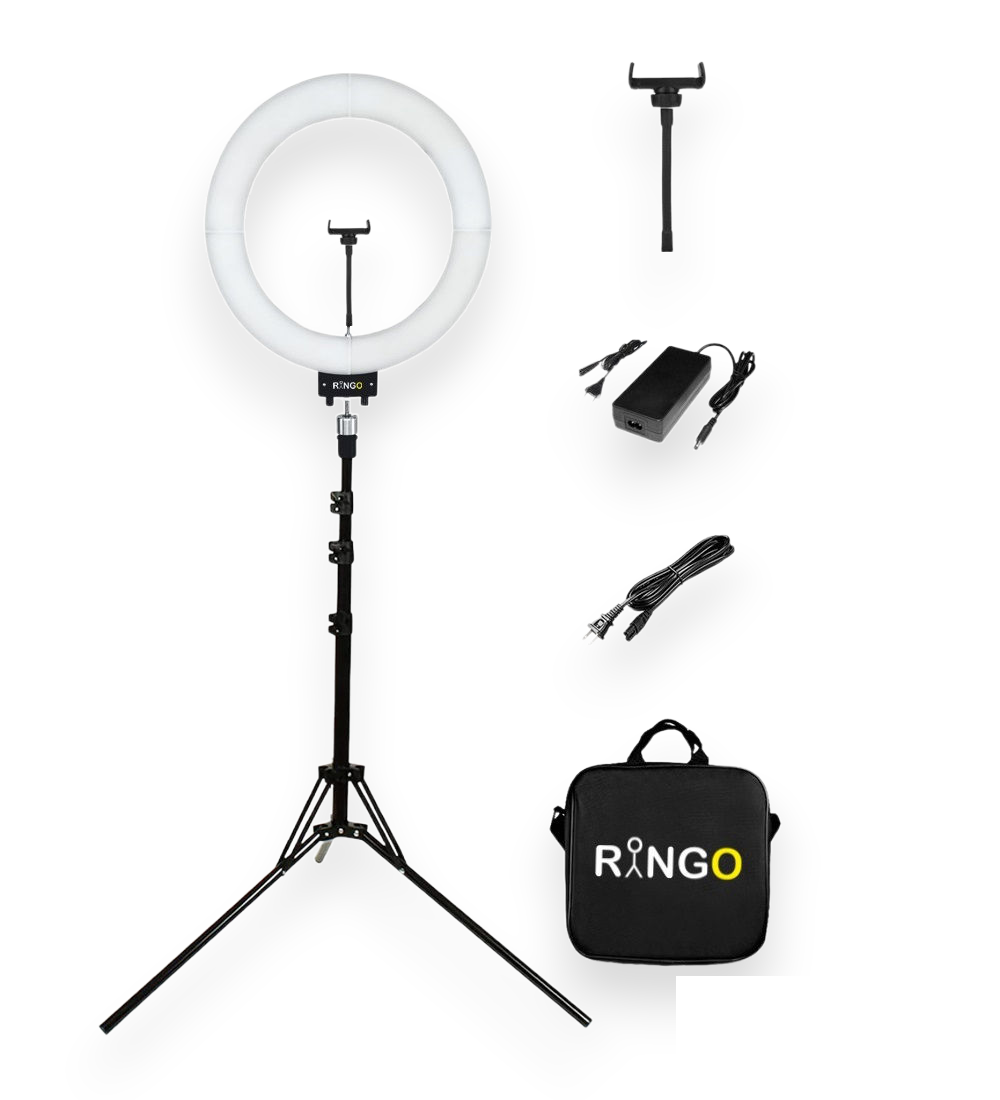
You can follow the installation steps by watching the video or following the guide below.
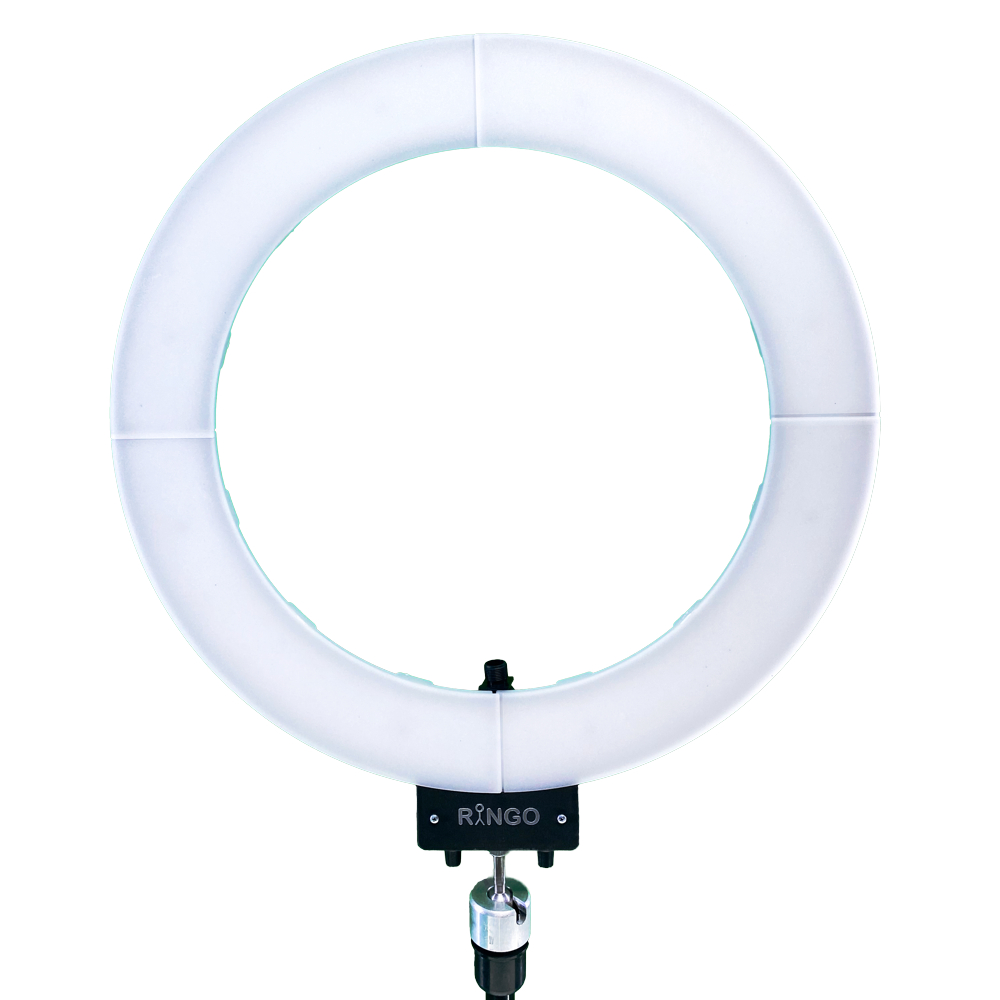
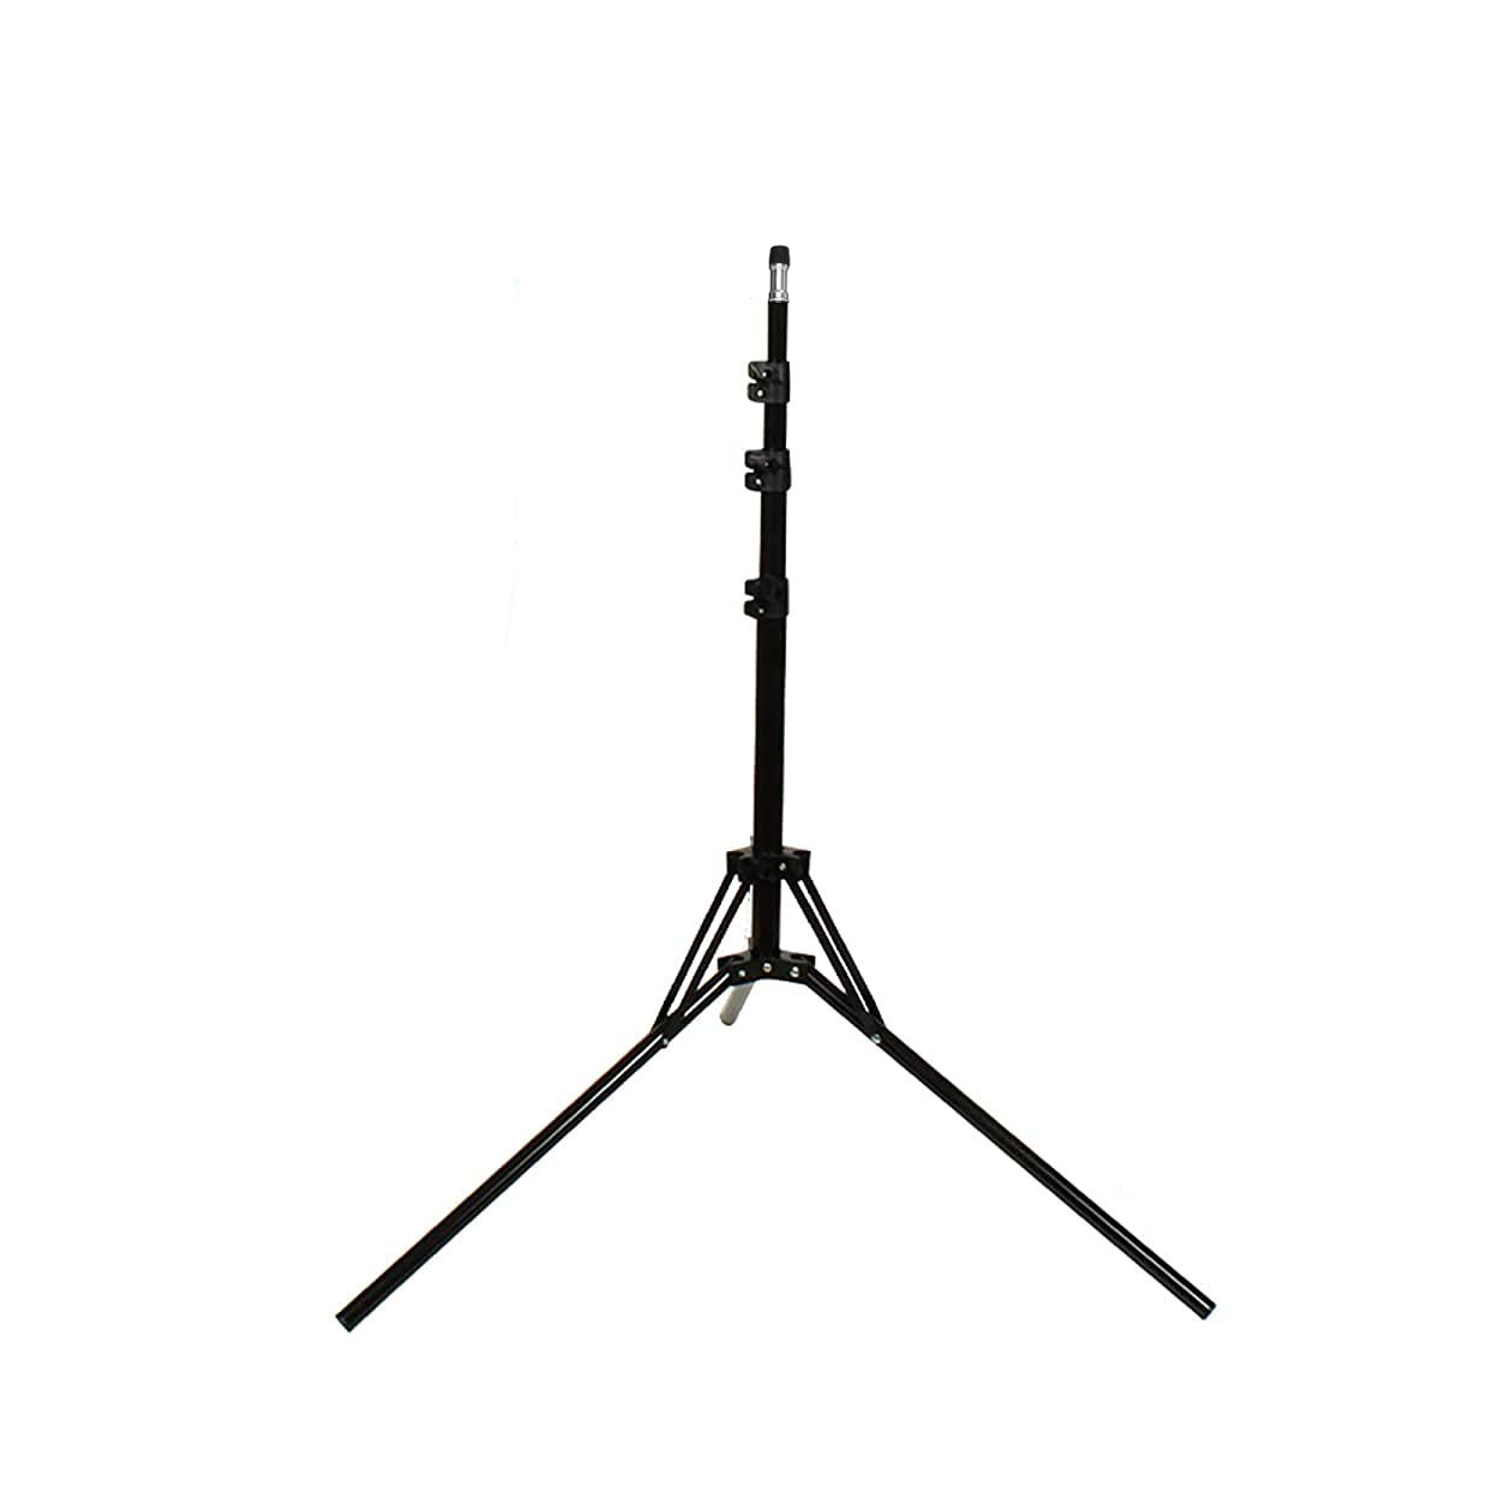
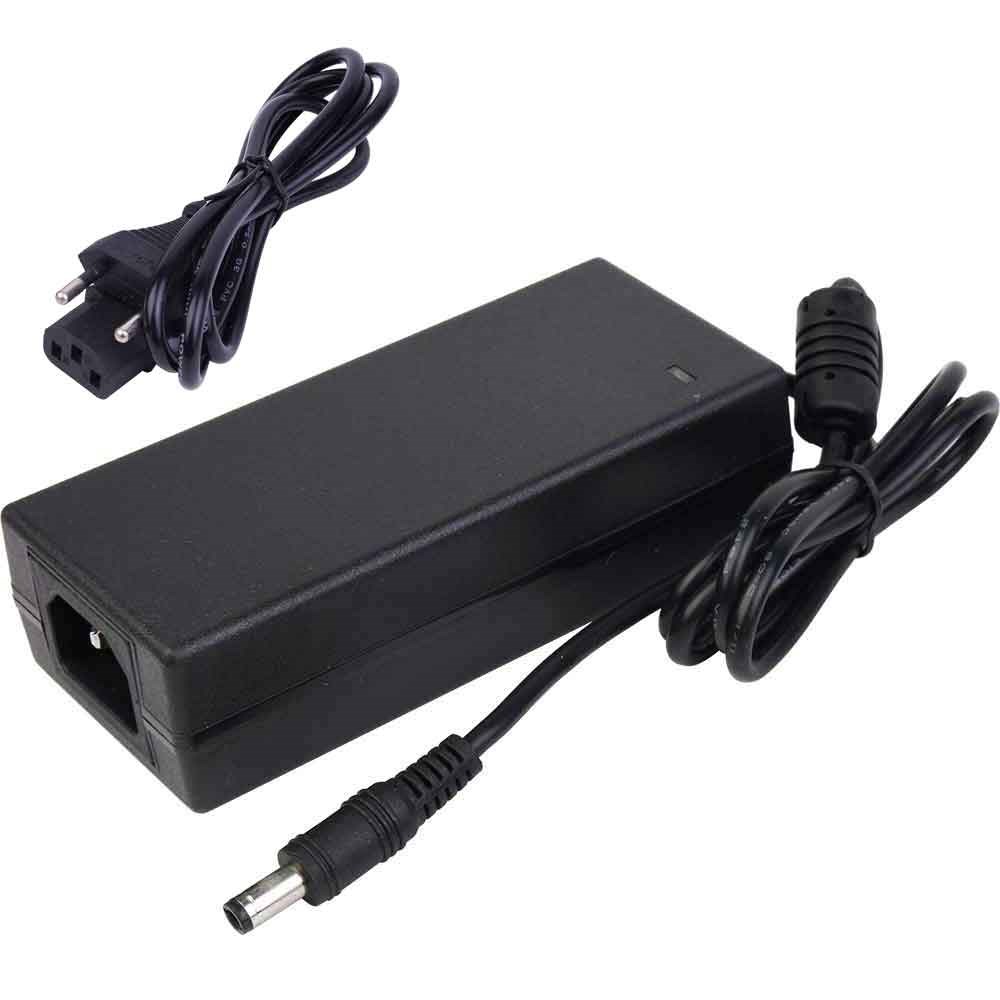
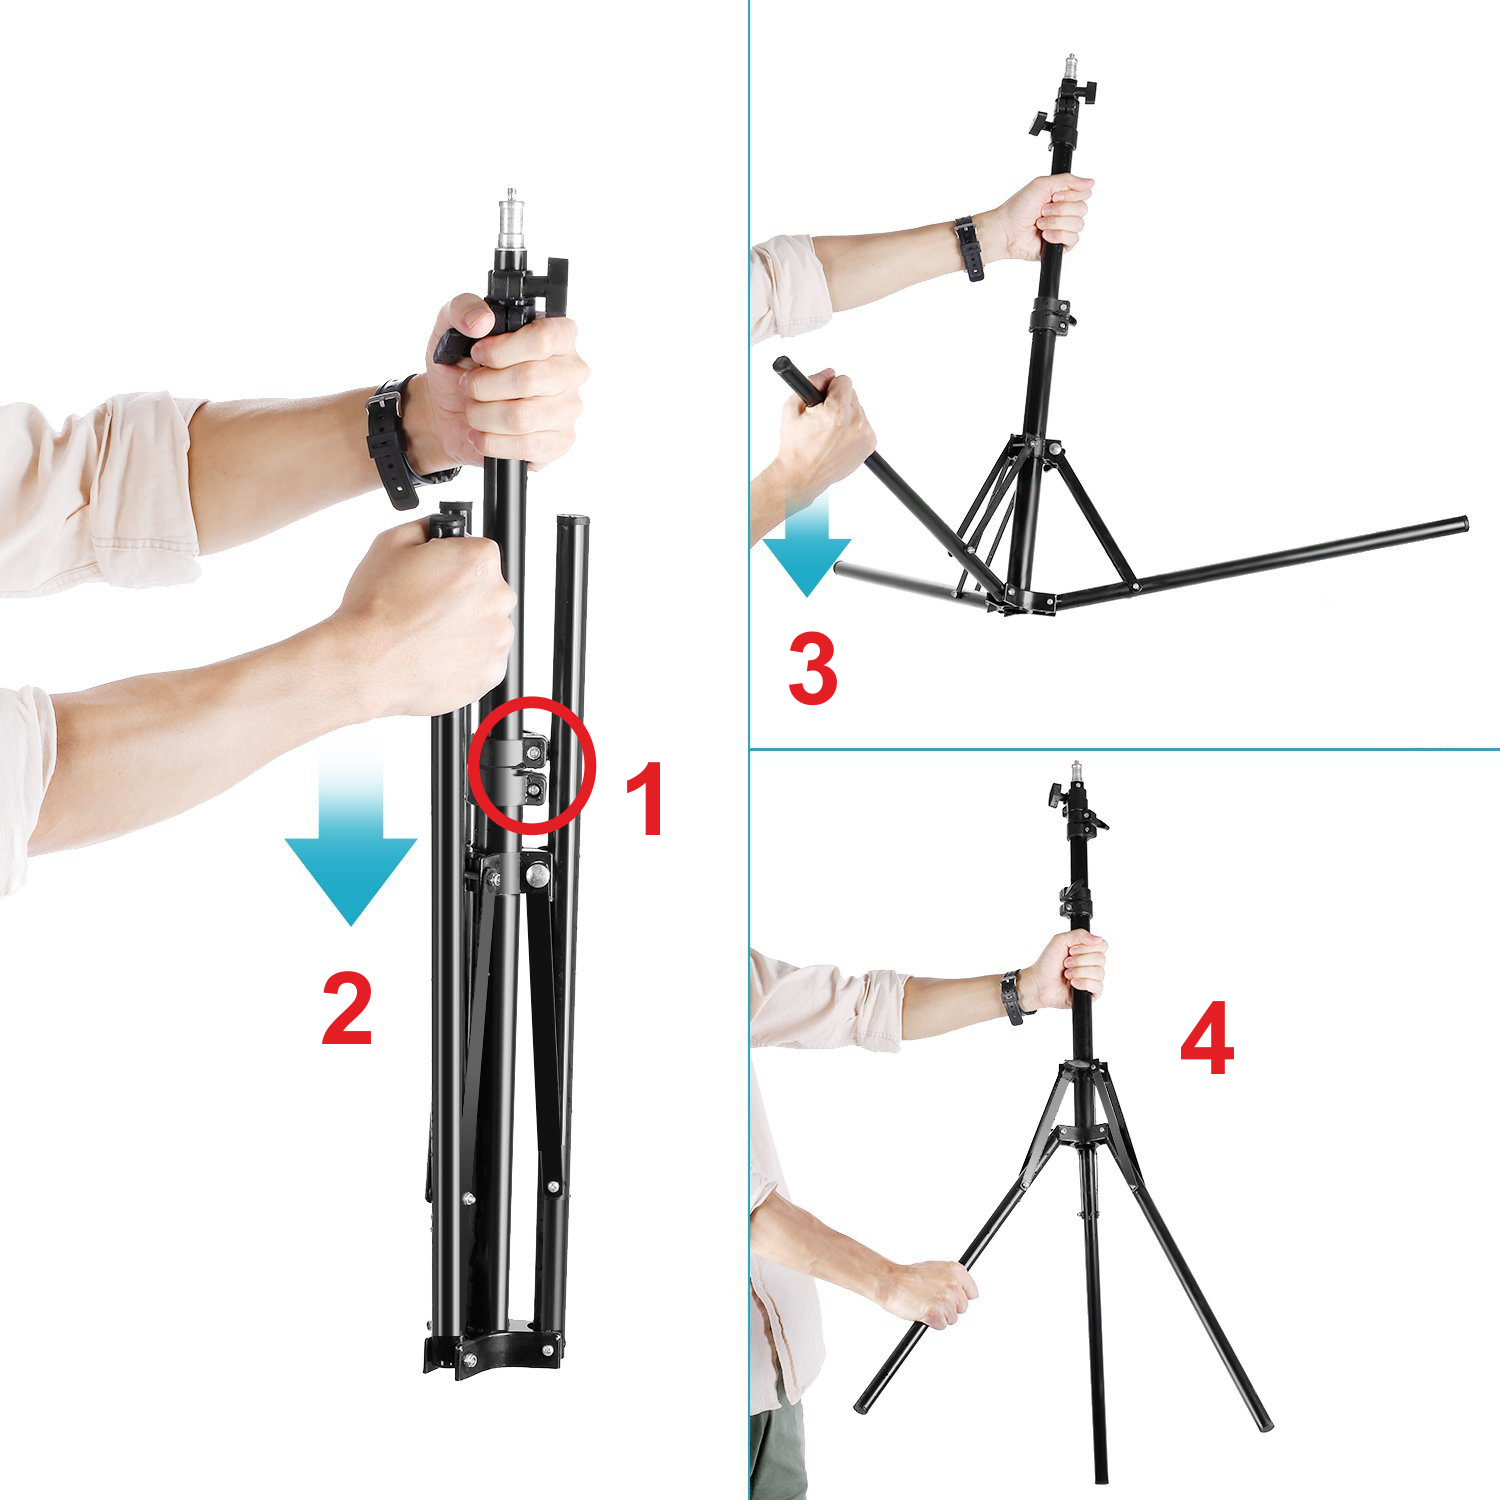
After unboxing, you should start with the tripod installation.
1. First, loosen the butterfly nut located in the circular area marked 1.
2. Next, pull the leg struts located in section 2 in the direction of the arrows.
3. Pull section 3 in the direction of the arrow to position it as shown in section 4.
4. Secure the stand by tightening the butterfly nut (1) again.
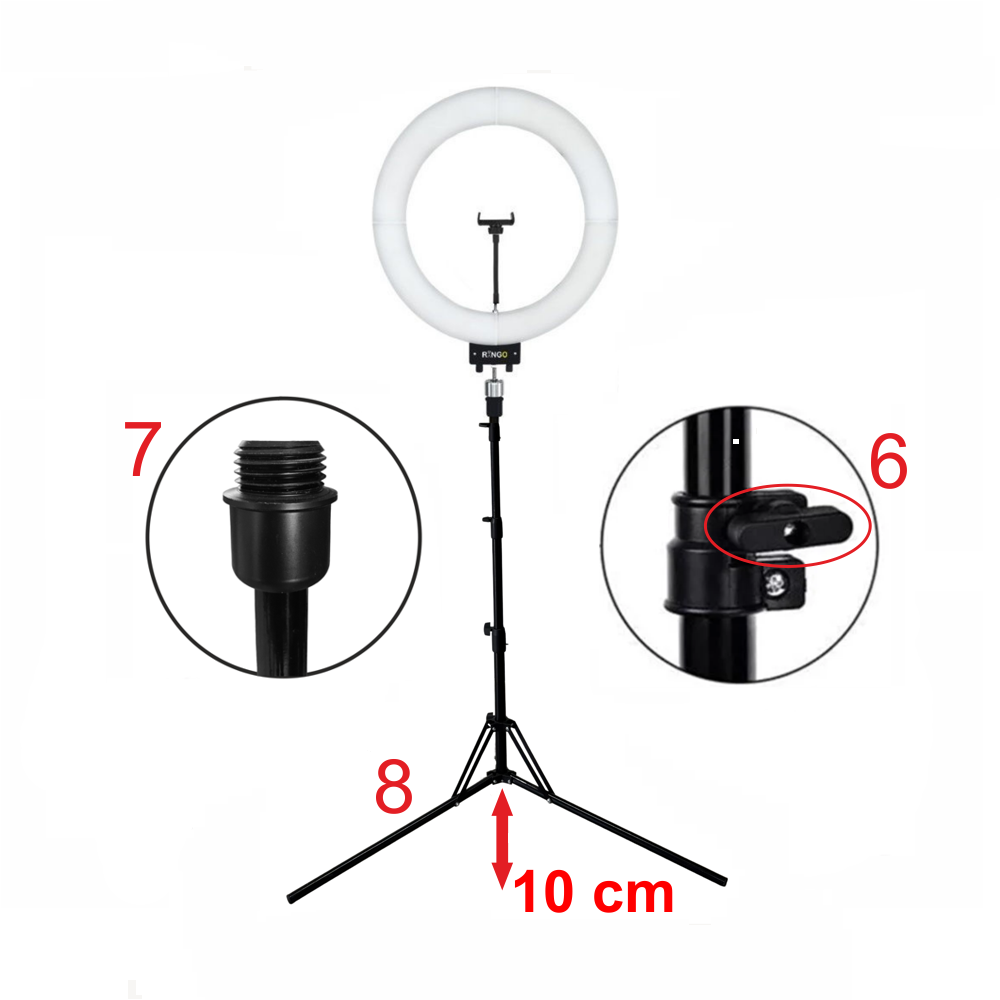
Loosen the butterfly nuts in section 6 to raise the tripod to your desired height, then tighten them again.
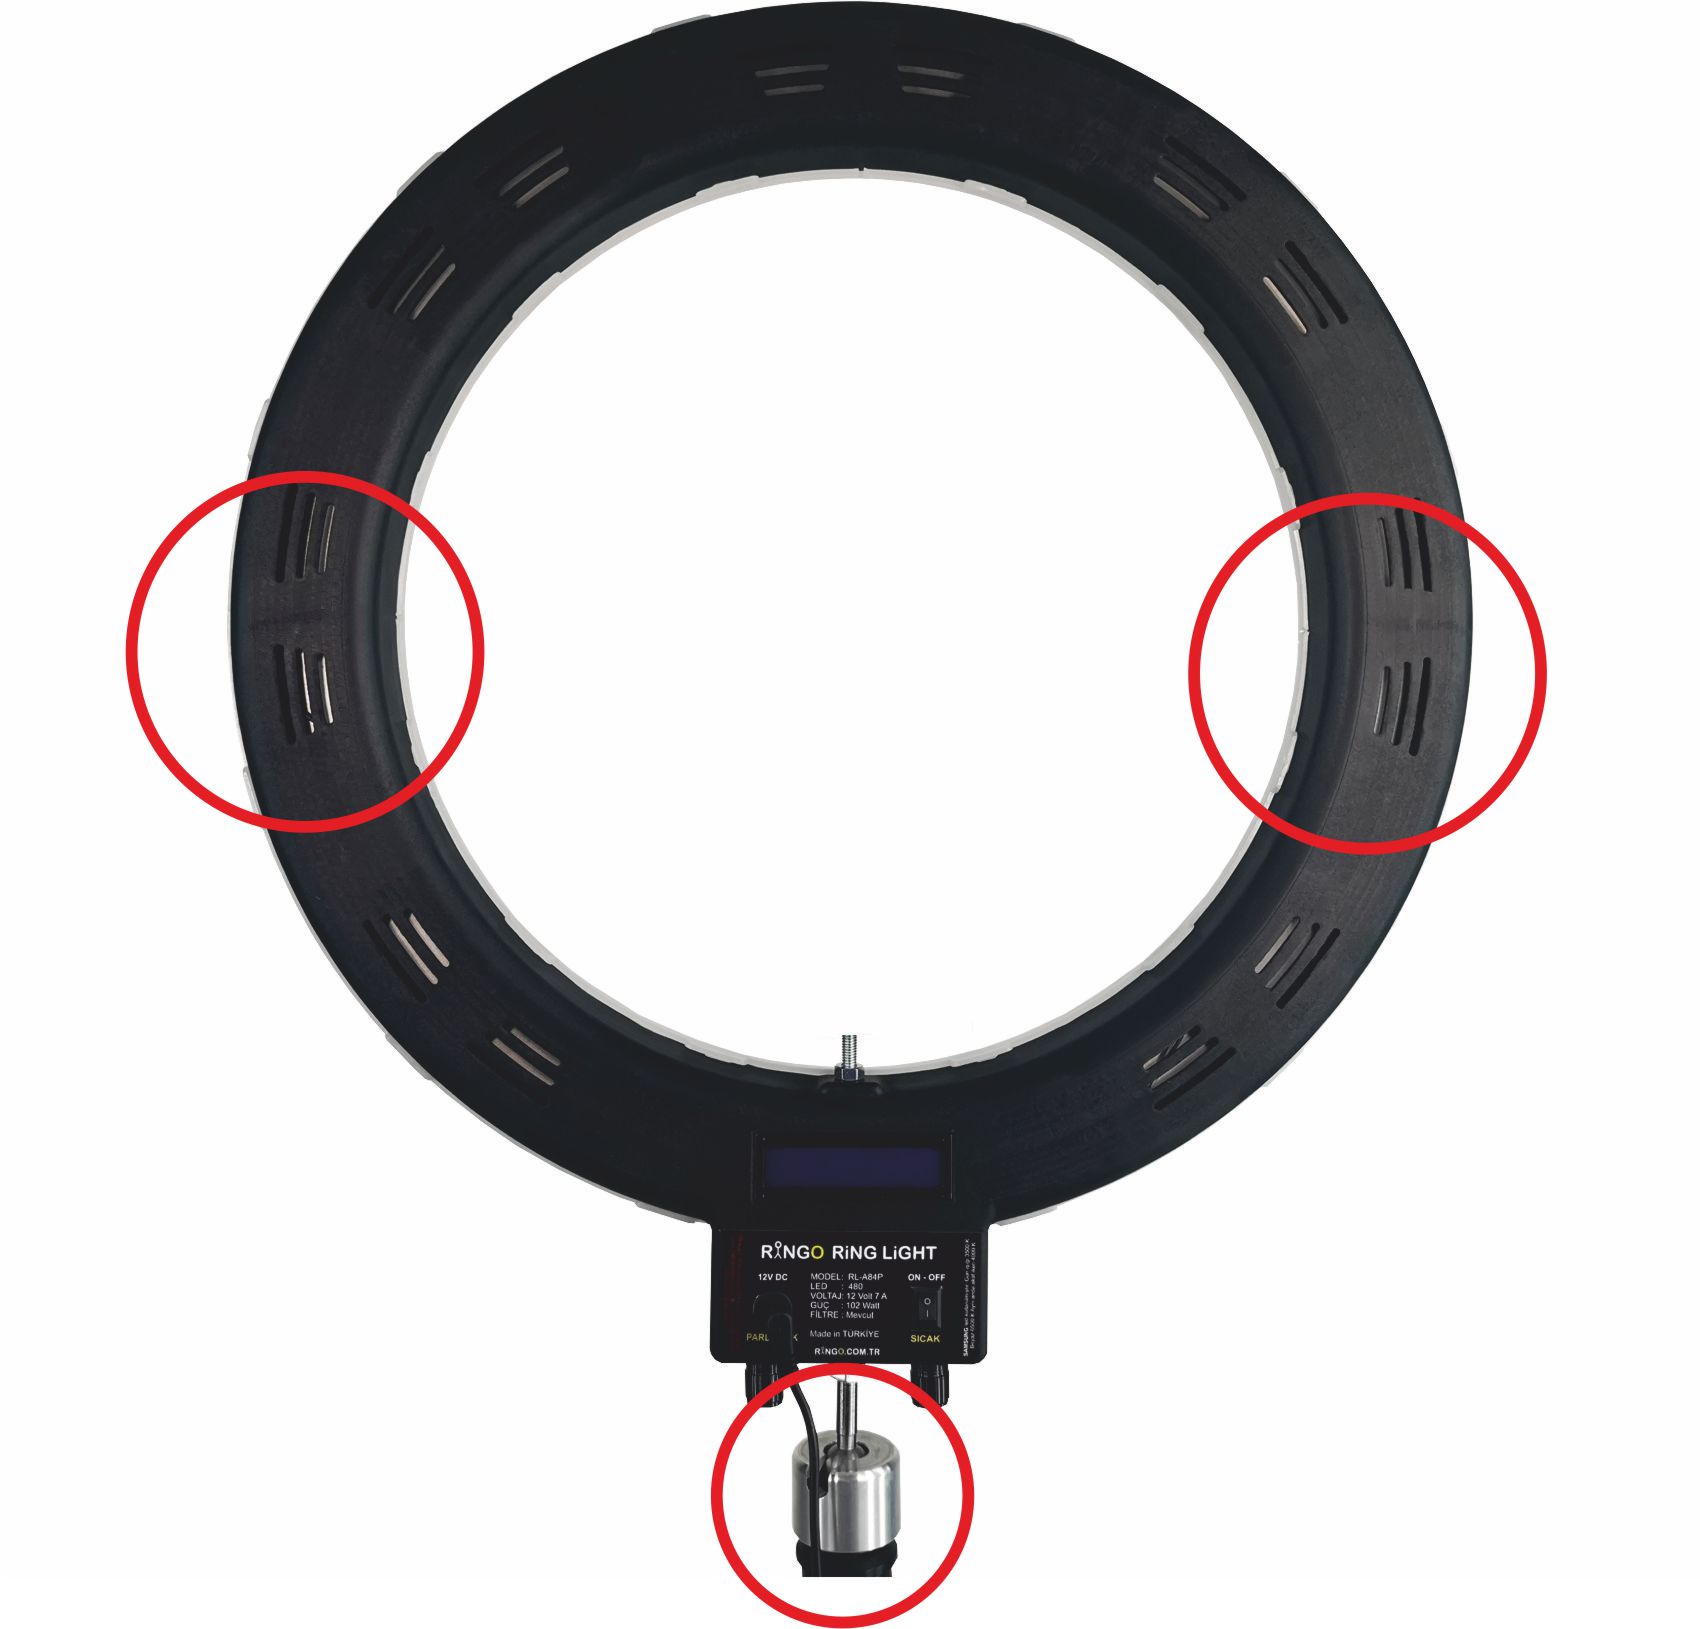
Place the aluminum nut located at the base of the ring light onto the screw section marked 7 and tighten clockwise.
When tilting and rotating, you **MUST** loosen (untighten) the aluminum nut before adjusting the angle, and then tighten it. Forcing the movement without loosening the nut can cause the plastic casing to break.
Select the panel type that matches your model:
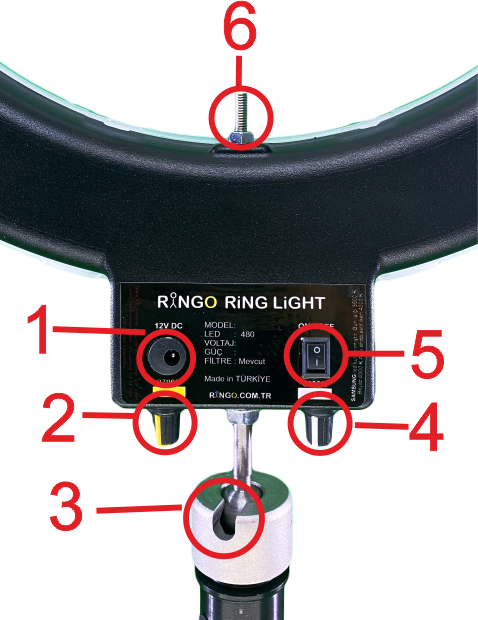
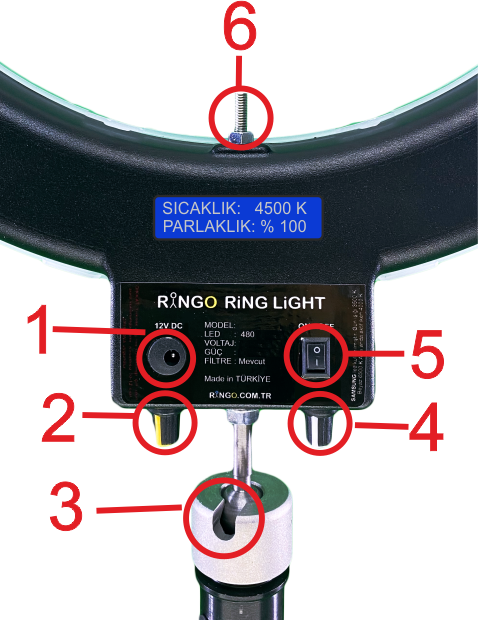
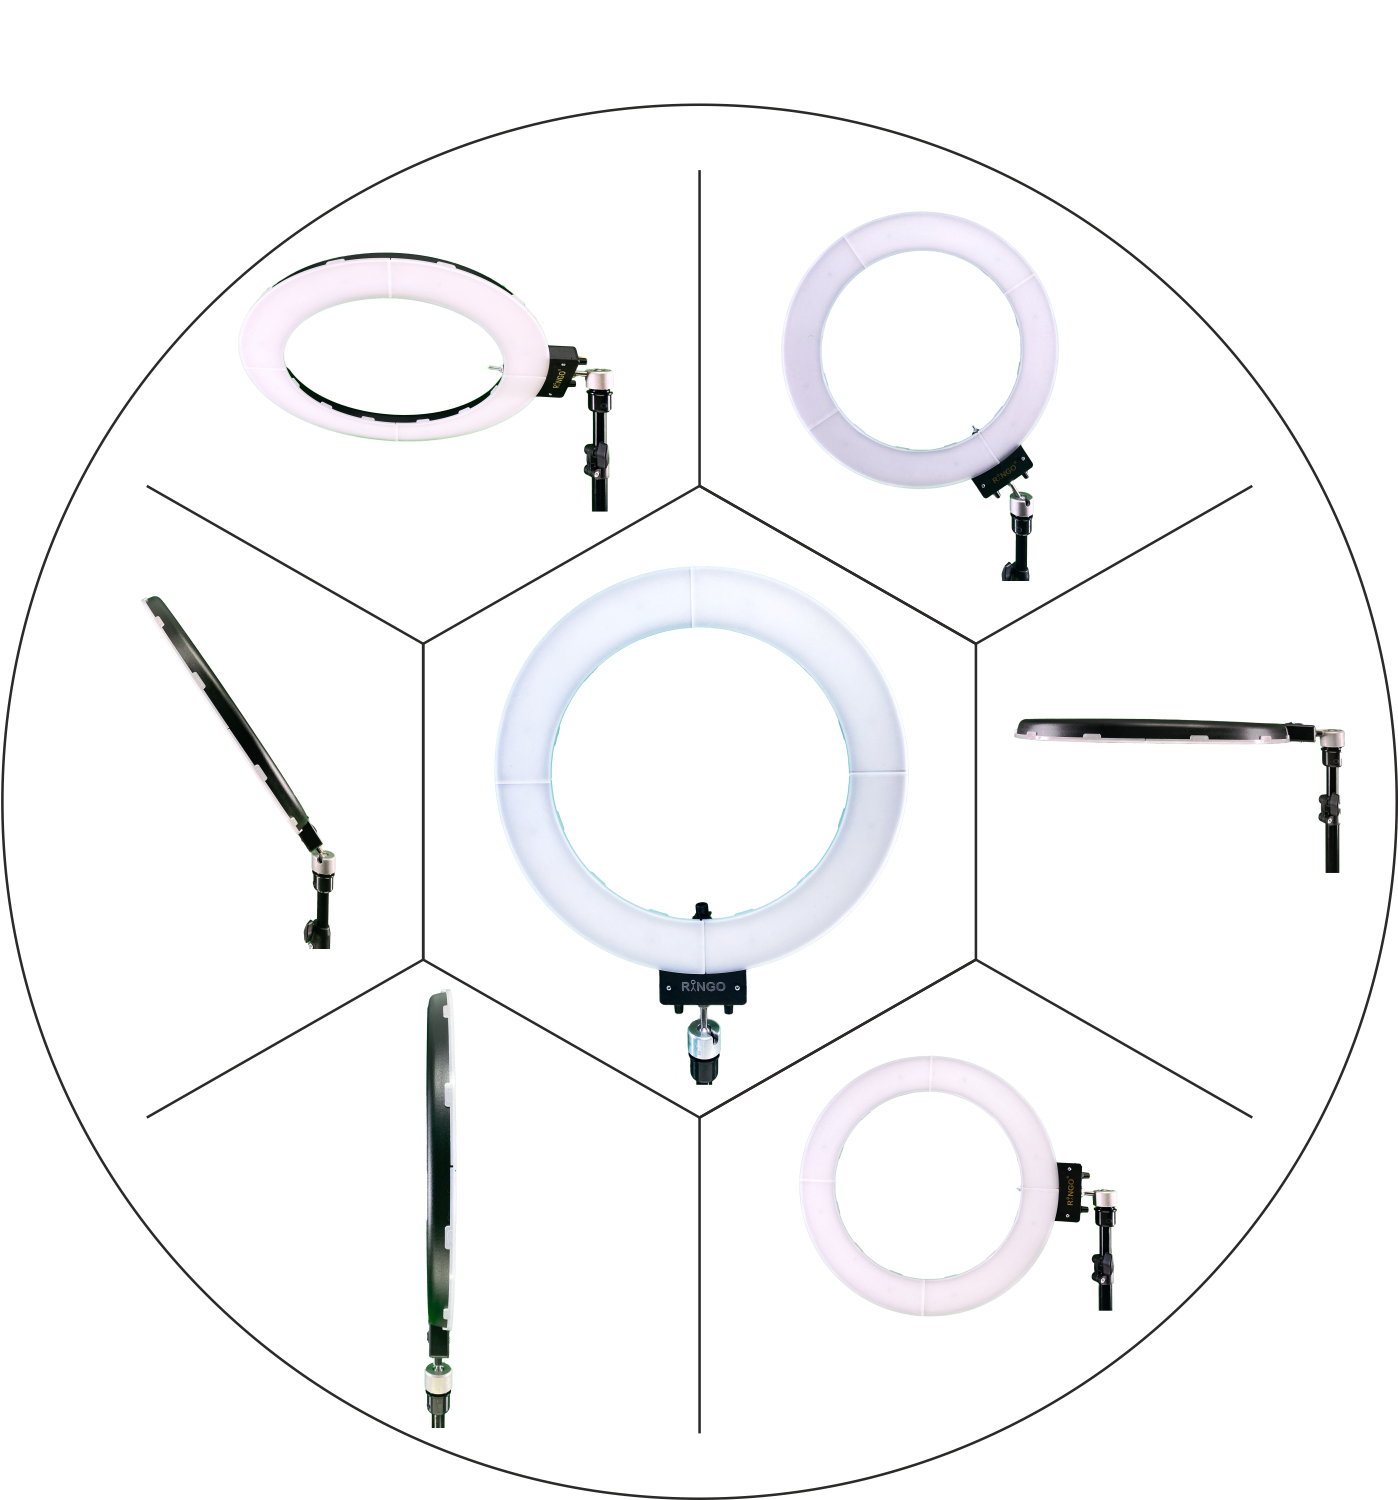
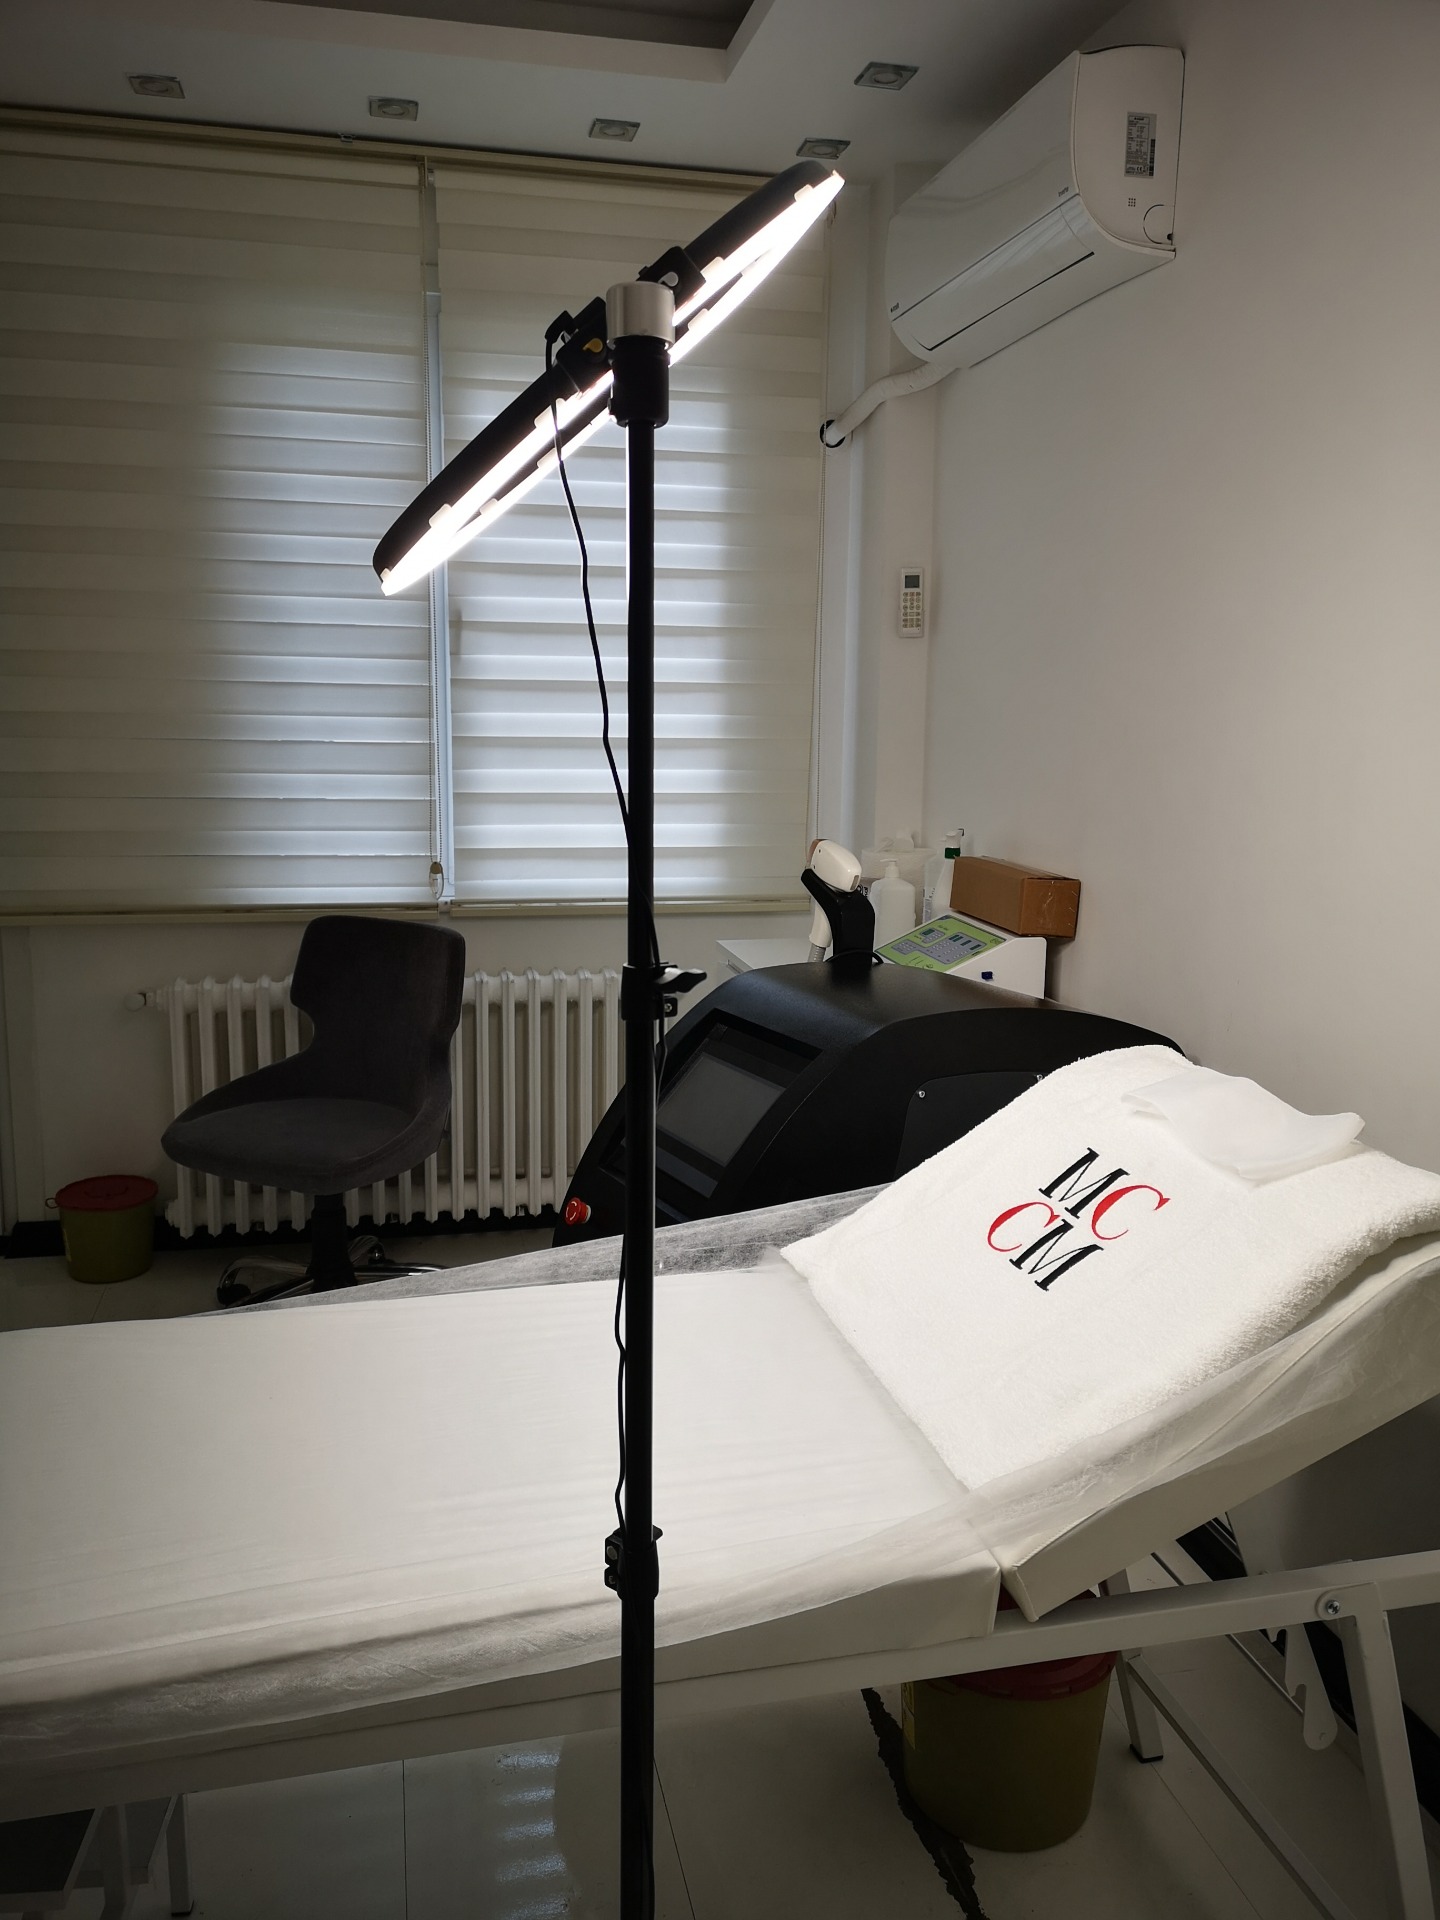
You can tilt your light 90 degrees for permanent make-up, tattooing, or desk-based procedures.
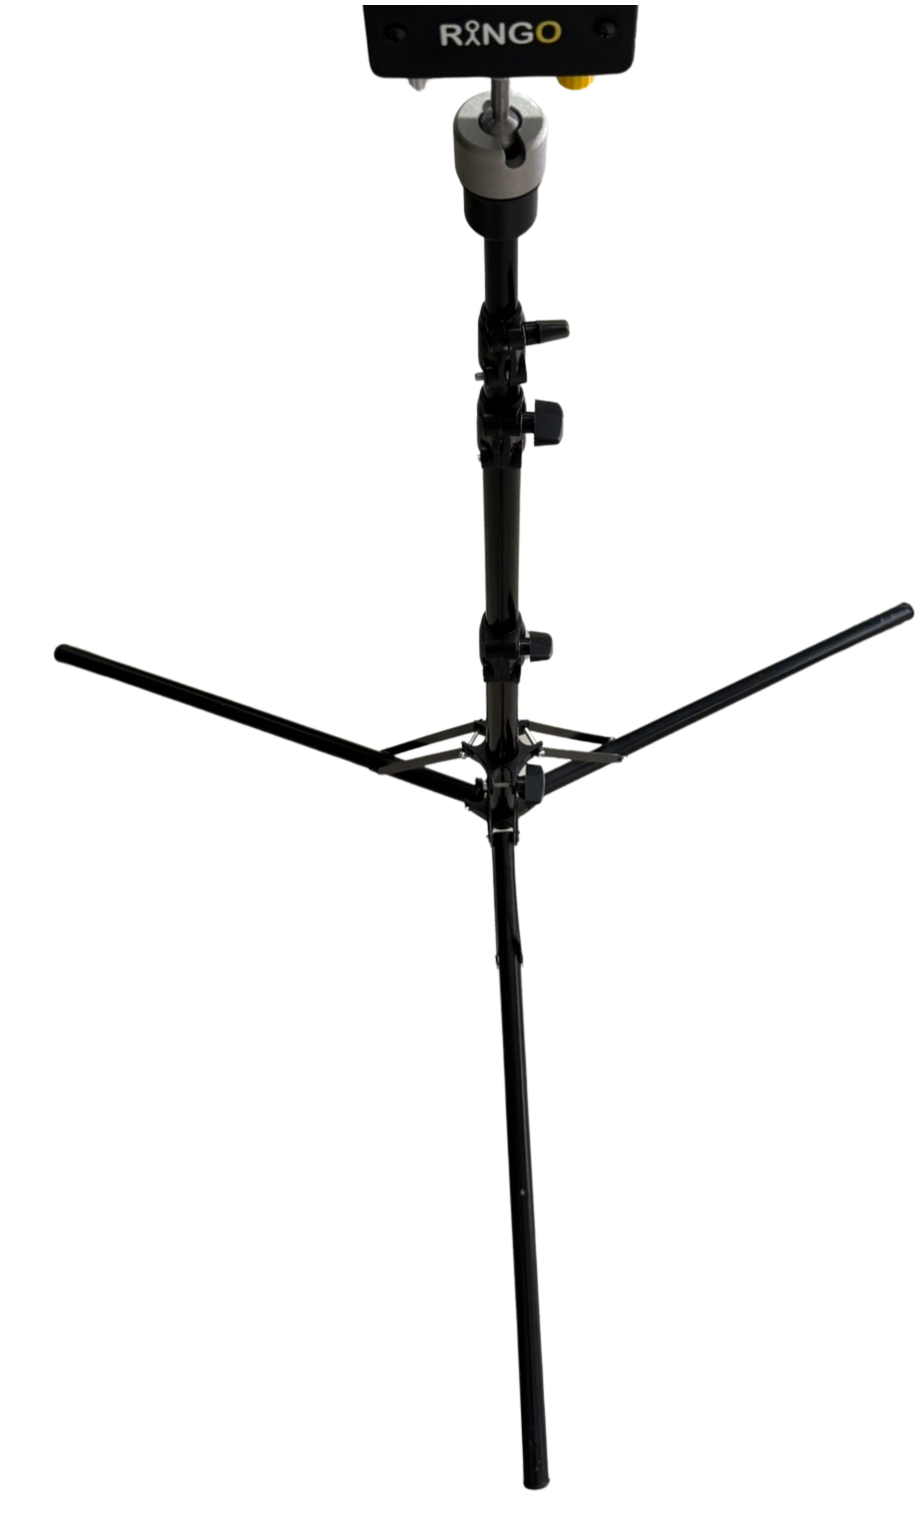
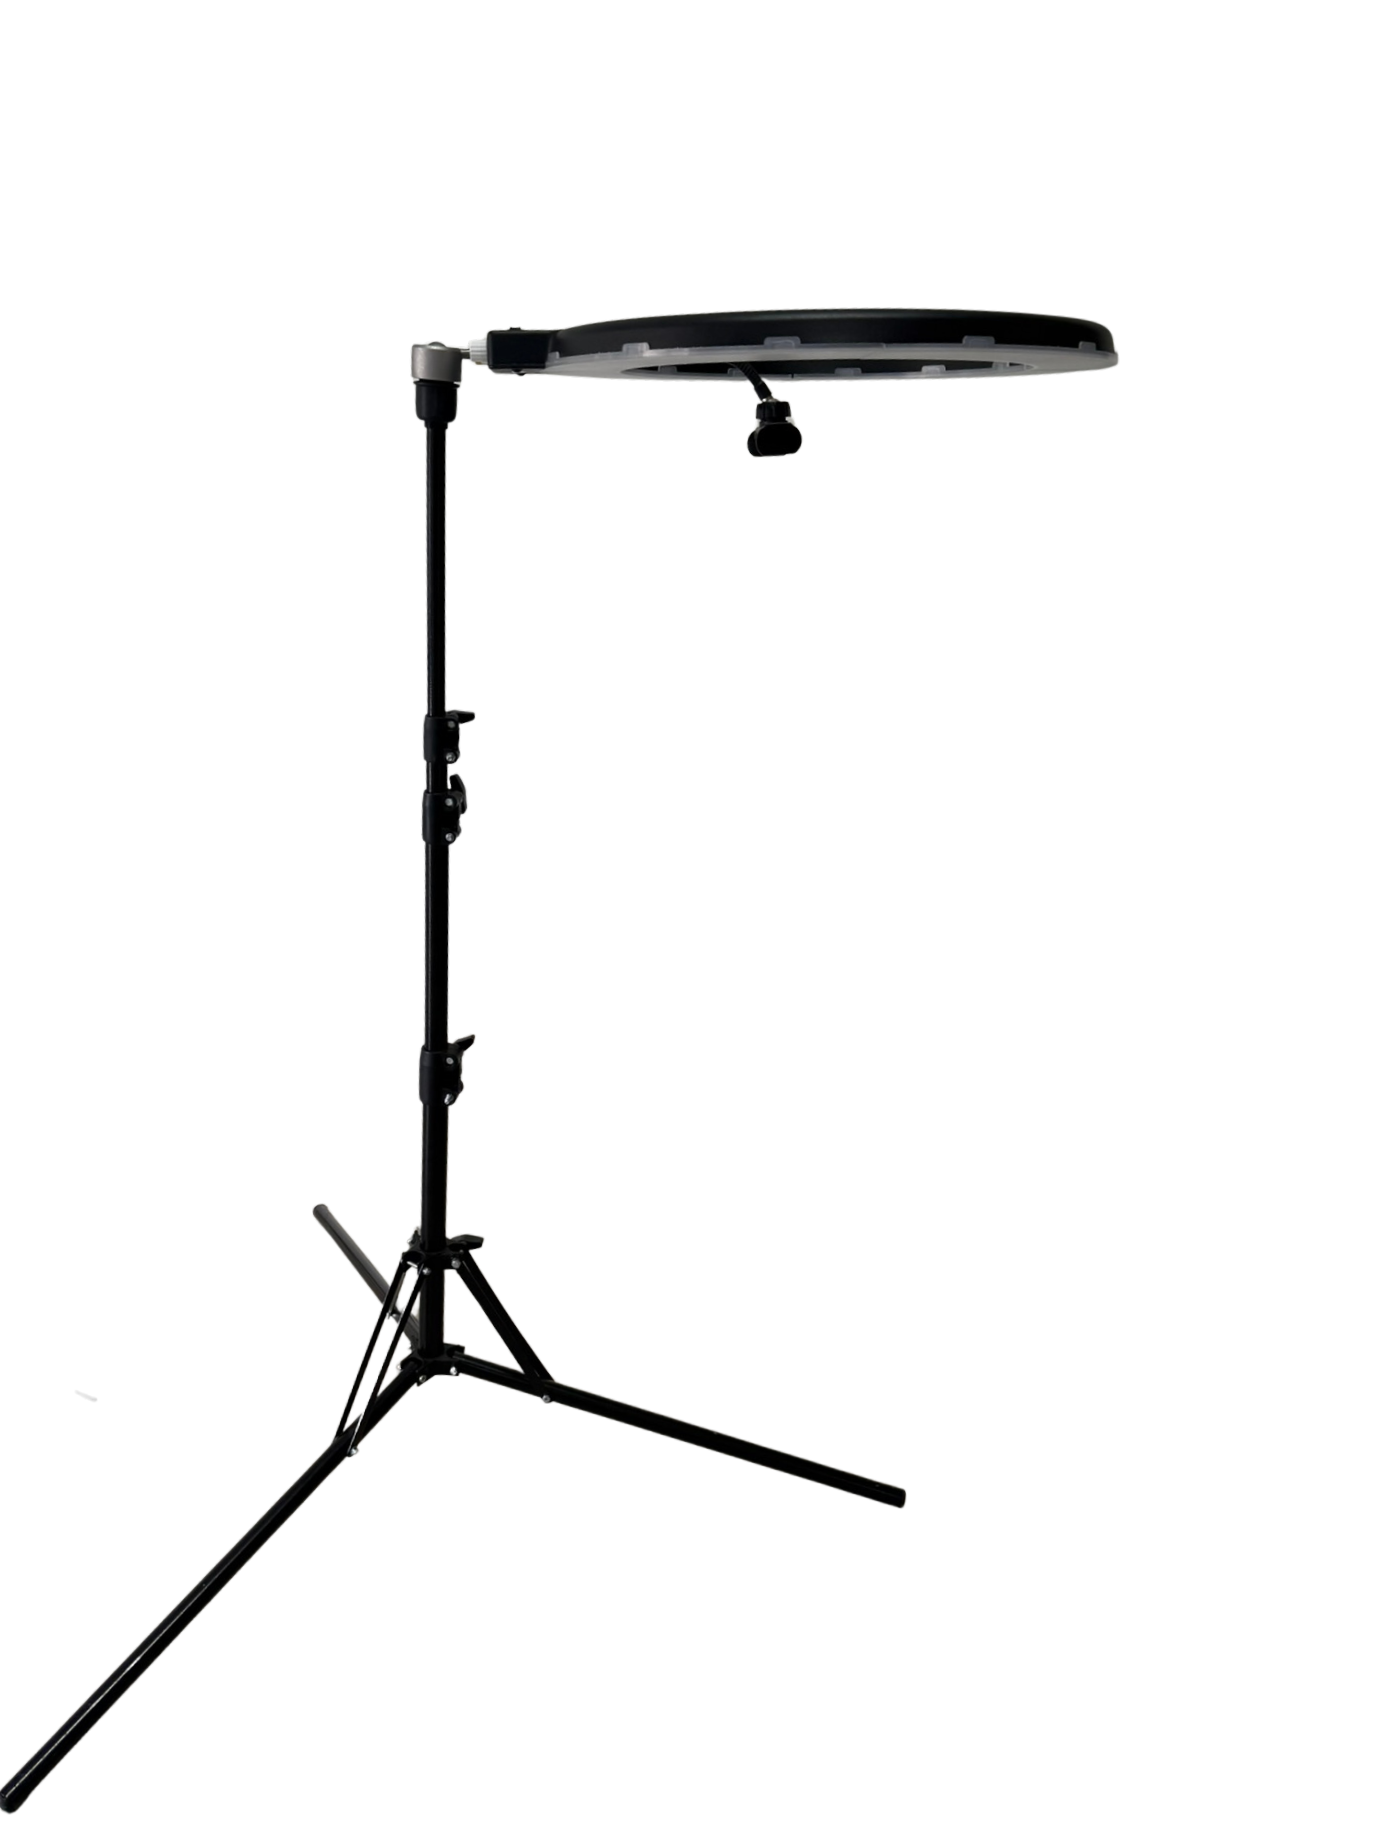
How to do it:
To move the head section, hold the ring with one hand and loosen the tightening piece underneath with the other hand. Tighten it again once the light is at your desired angle.