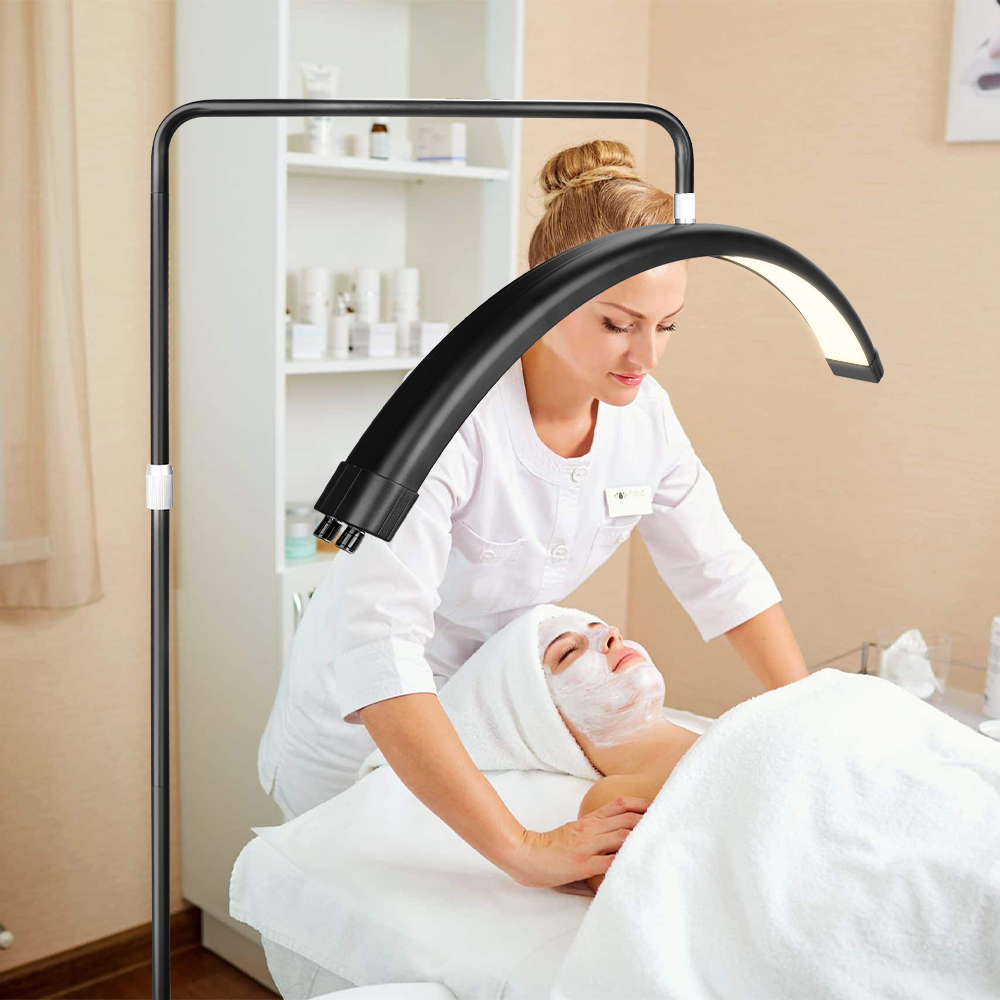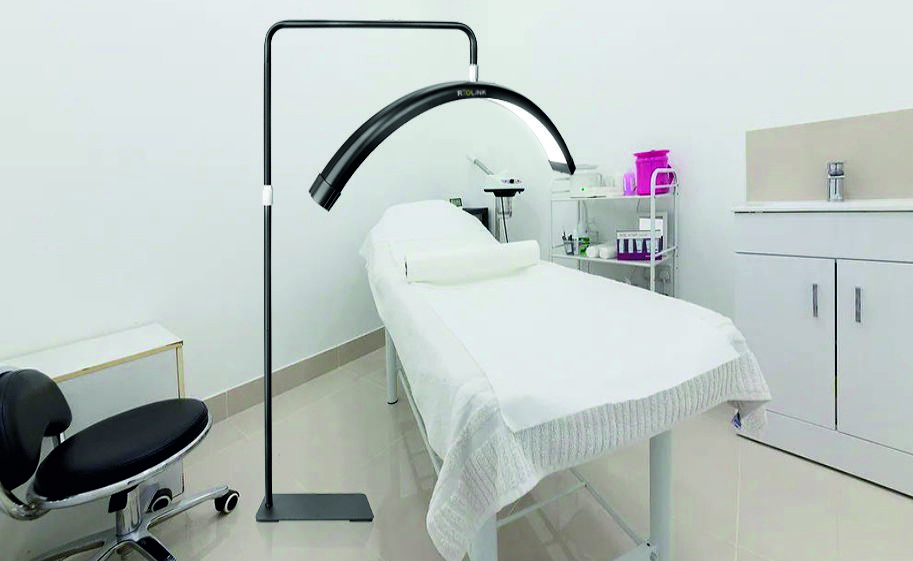

28 Inch Moon Lamp Installation & Usage
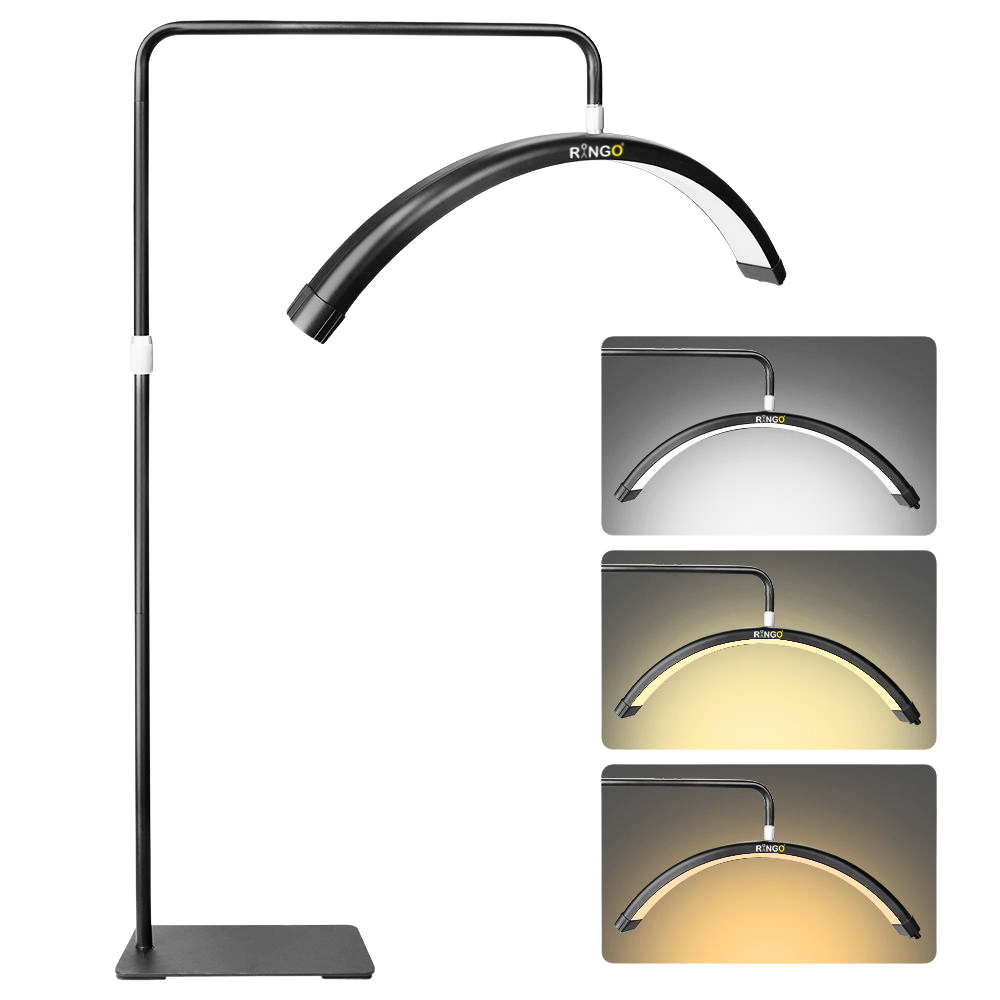
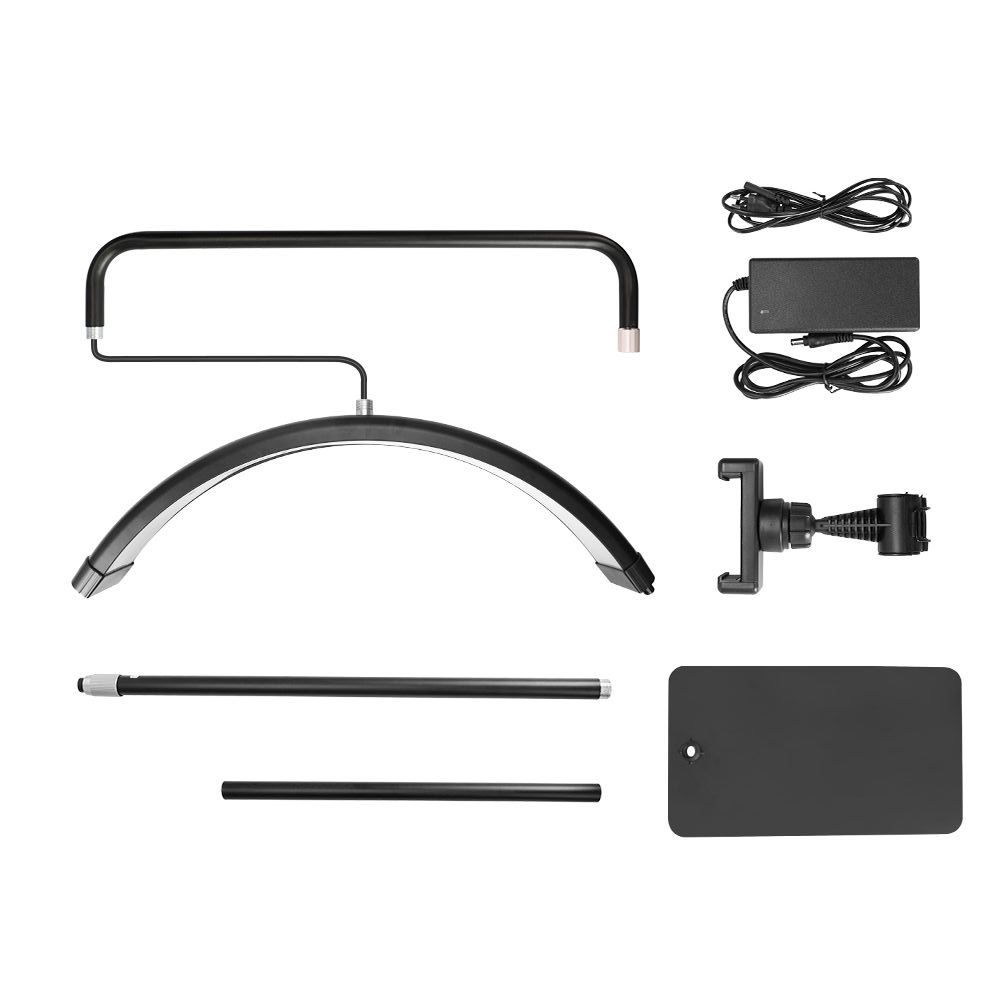
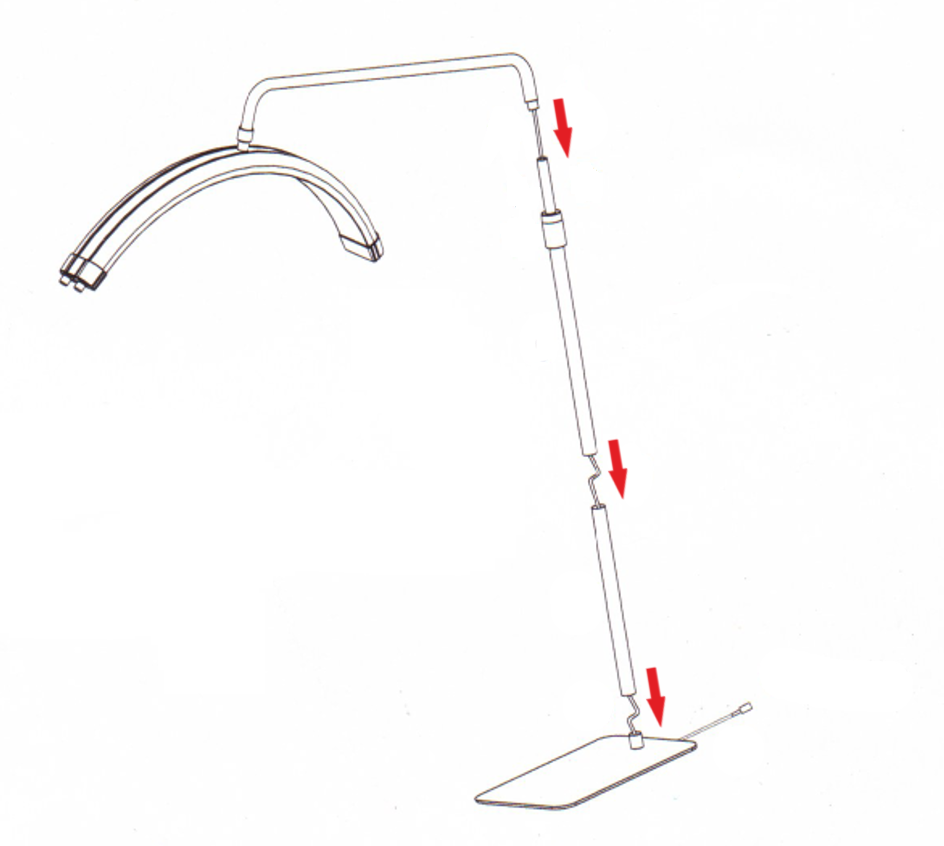
The cable is passed through component number 2, and the tightening process continues in place.
The same procedure is done for component number 3.
The cable is passed through the hole of the base plate marked number 4, and the tightening process continues.
To easily attach the bottom plate marked number 4, the piece marked 'B' is opened and left in a loose position. It is recommended to position the light on a stretcher or a tabletop, lying flat.
Then, seat the bottom plate and tighten it.
In addition to the installation of the bottom plate marked number 4, an alternative method is to secure part 3 to part 4.
Then, the upper part 2 can be attached to part 3 to complete the assembly.
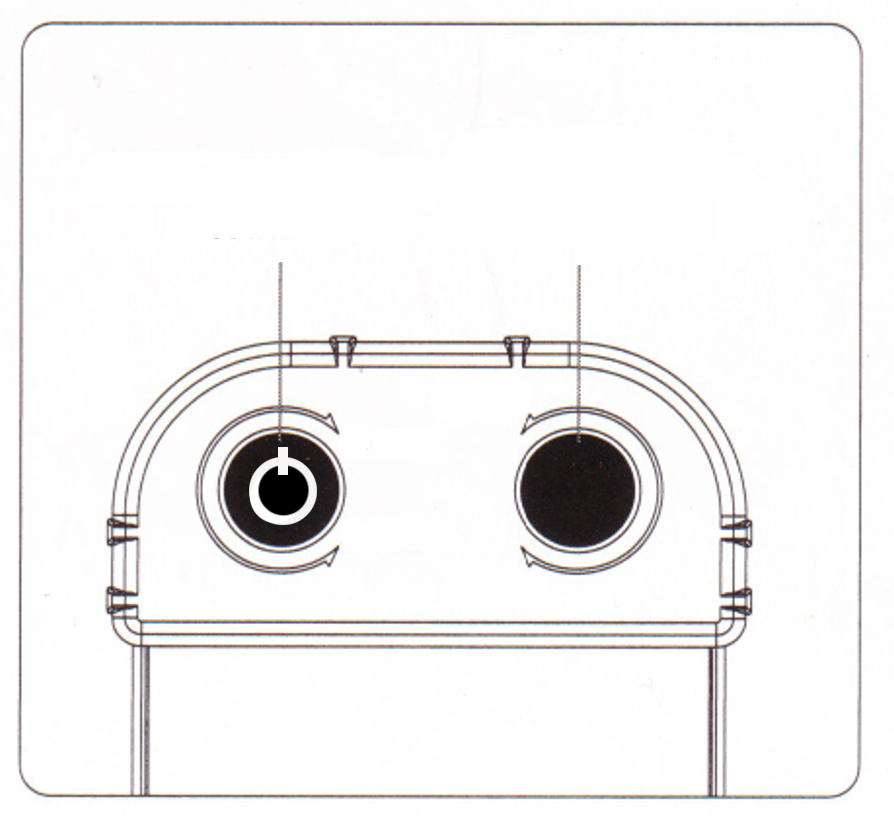
The rotary knobs allow us to change the color transition and brightness values. The brightness knob also functions as a button, changing the light's Off and On positions by pressing it.