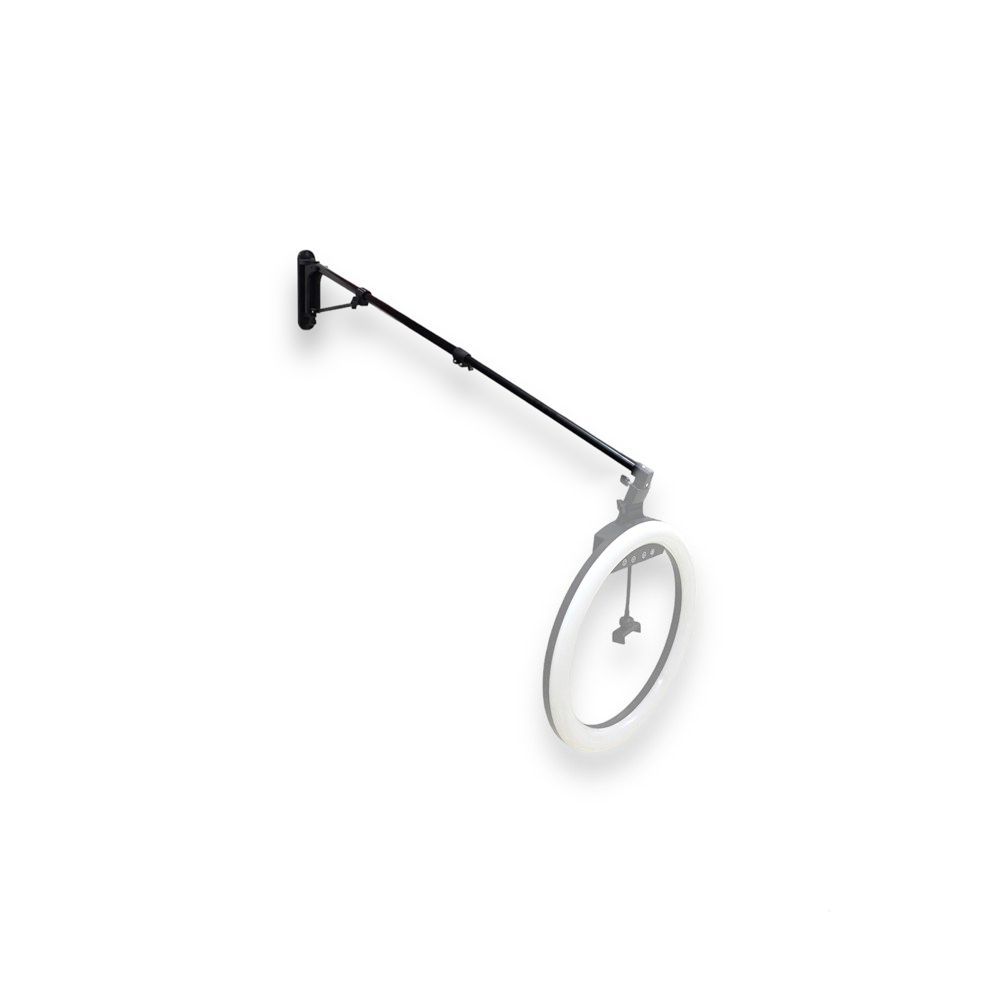
Wall hanging tripod installation
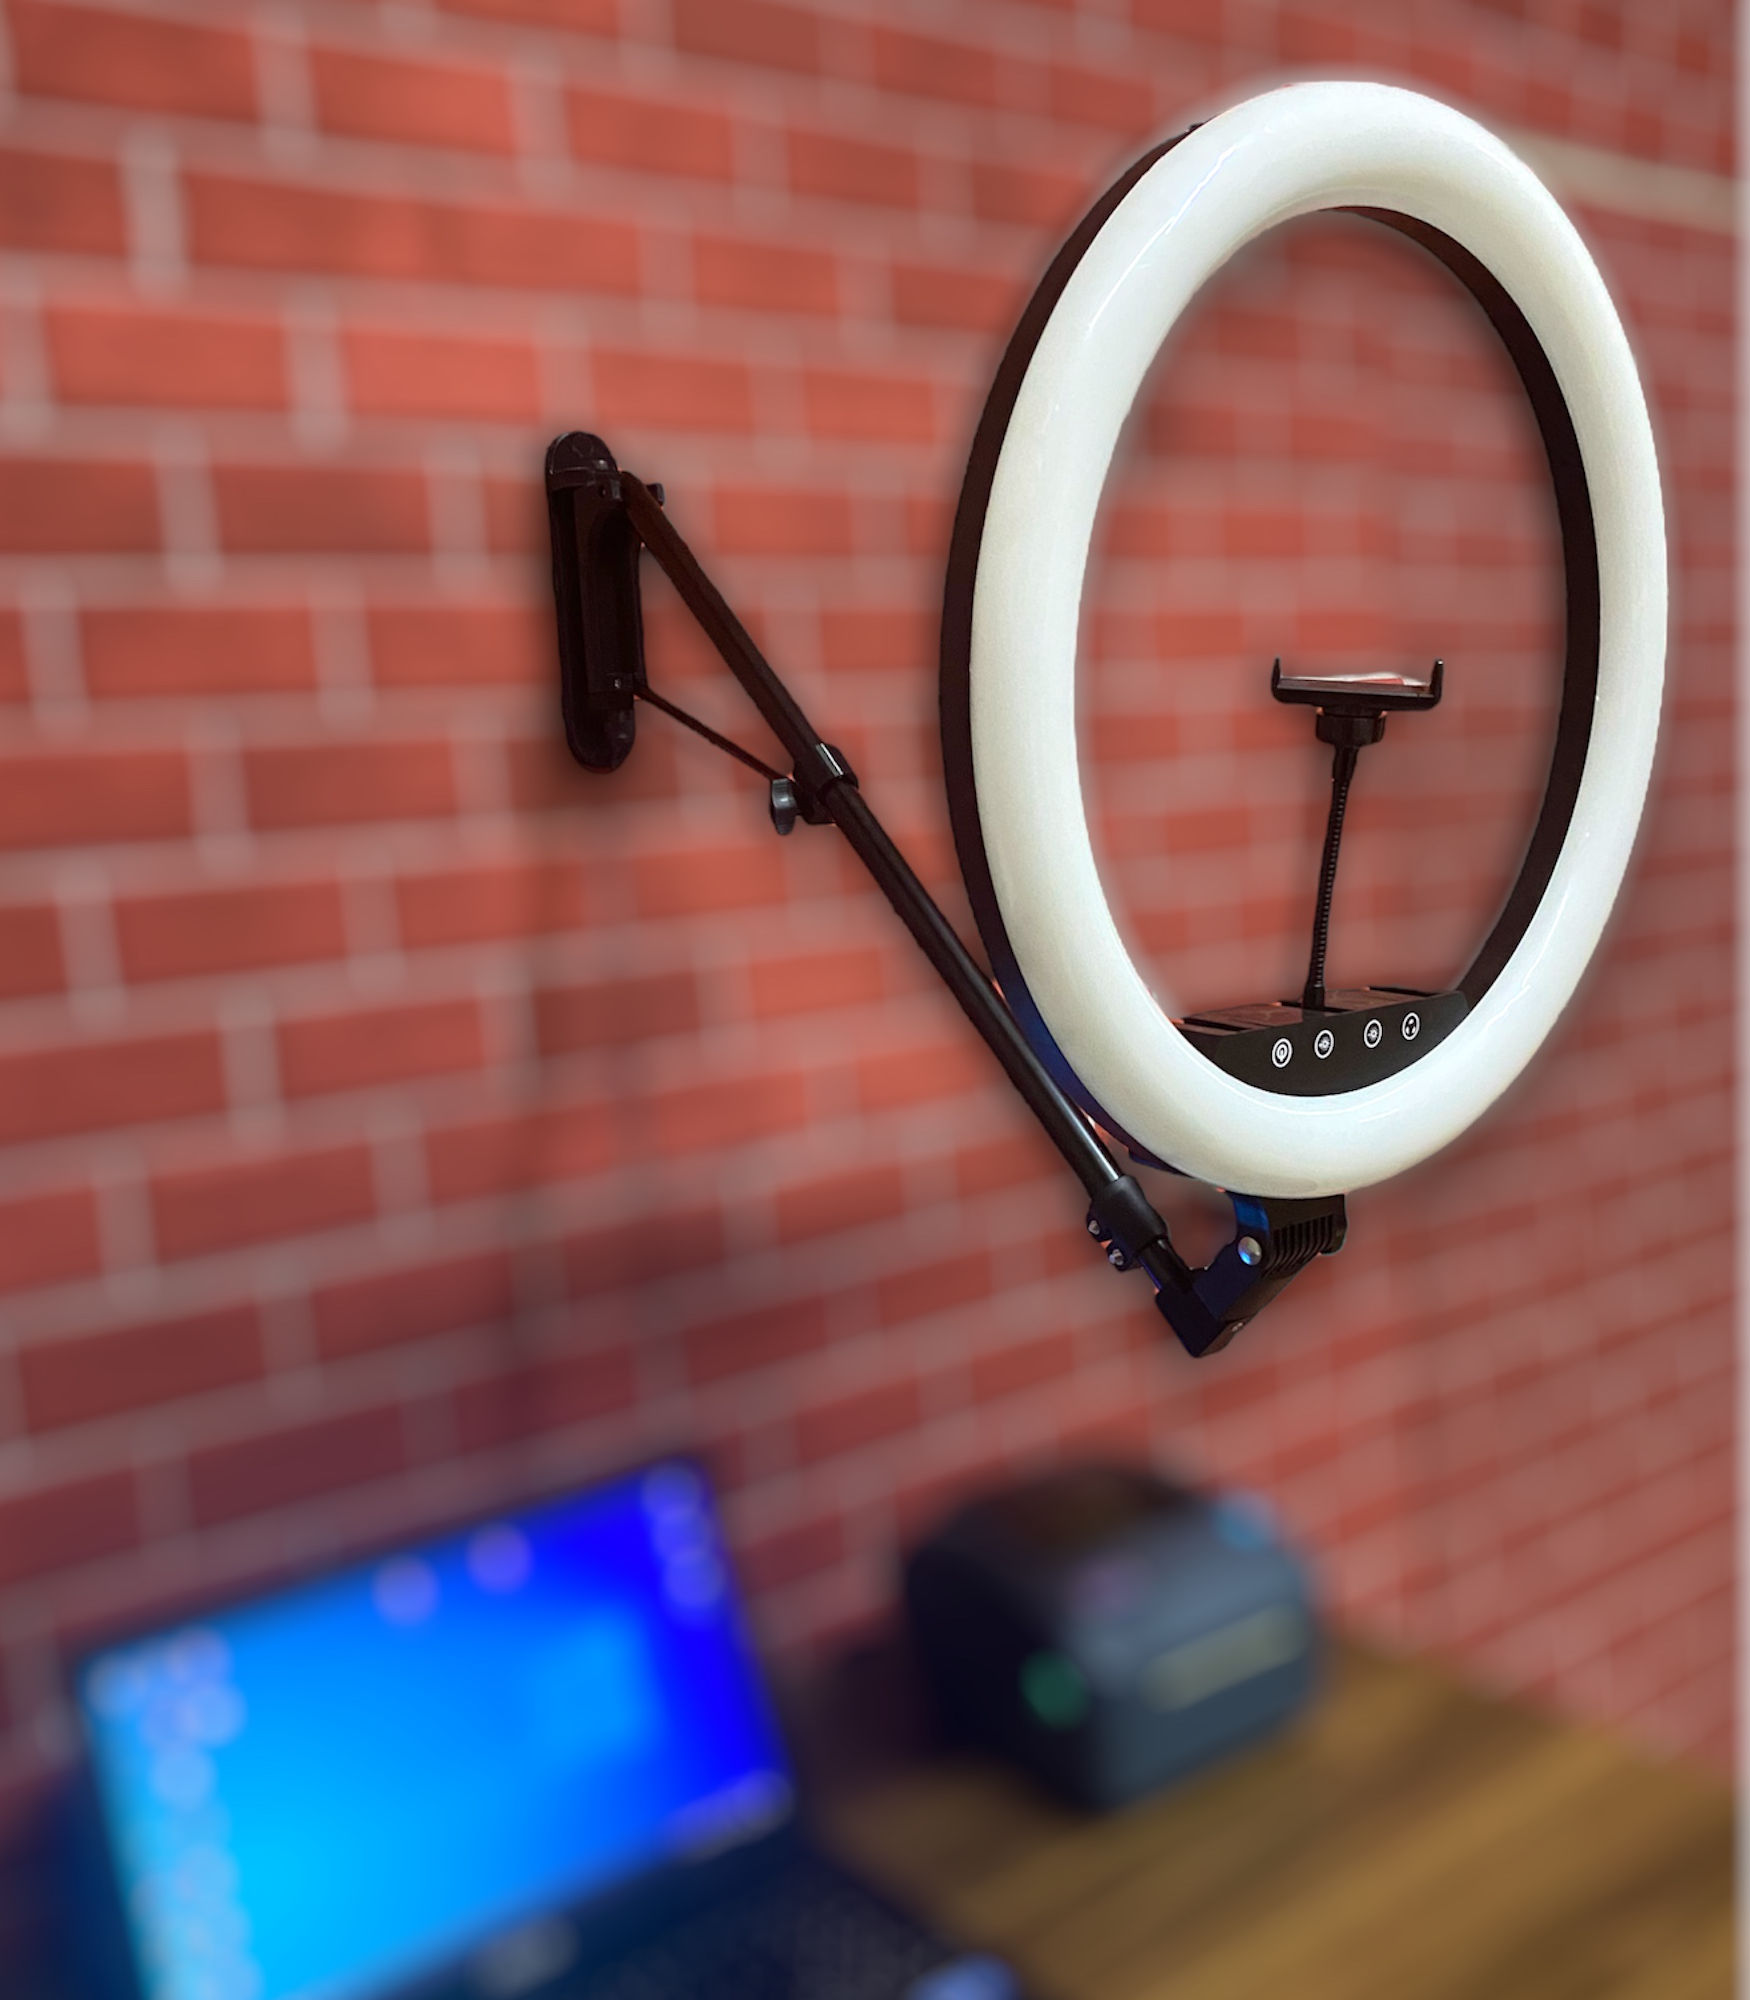
Parts required for installation
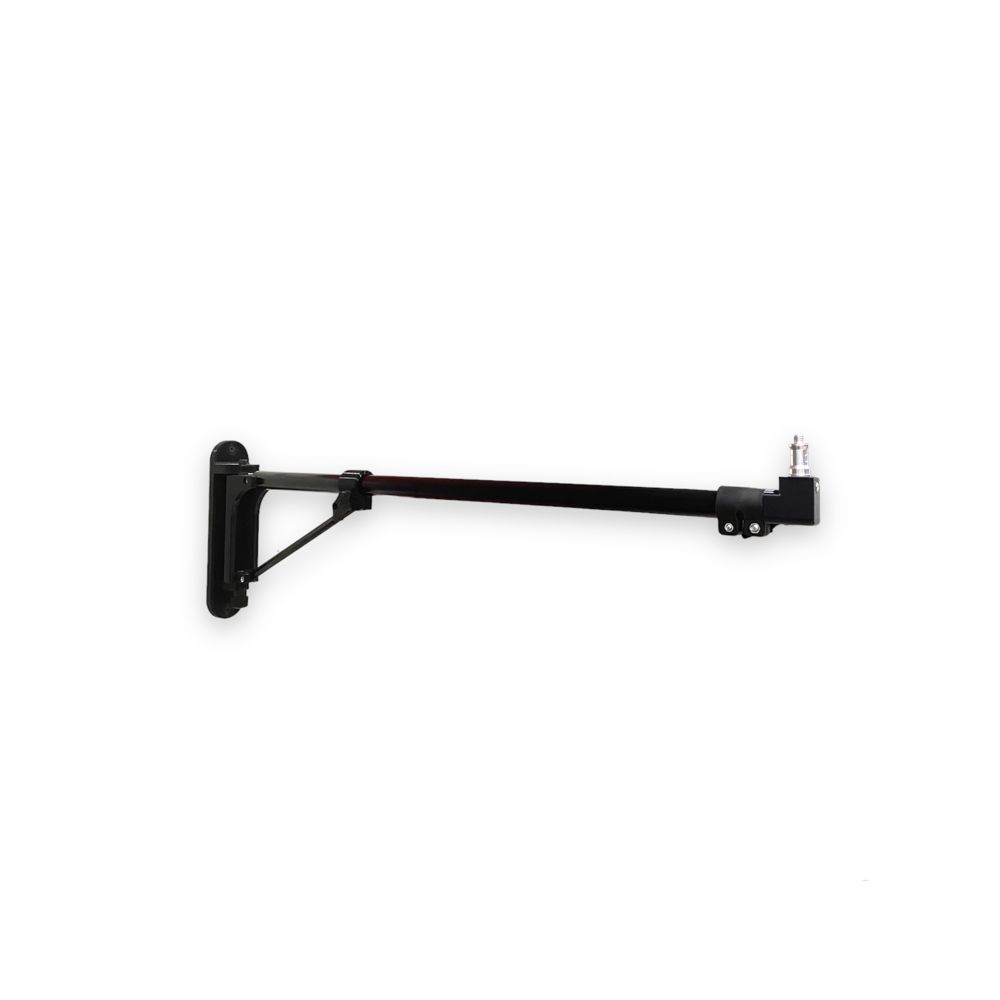
Wall Hanger handle
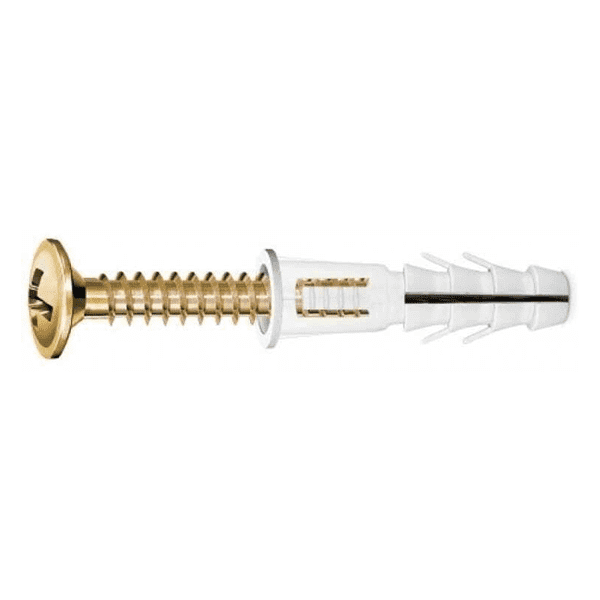
screws
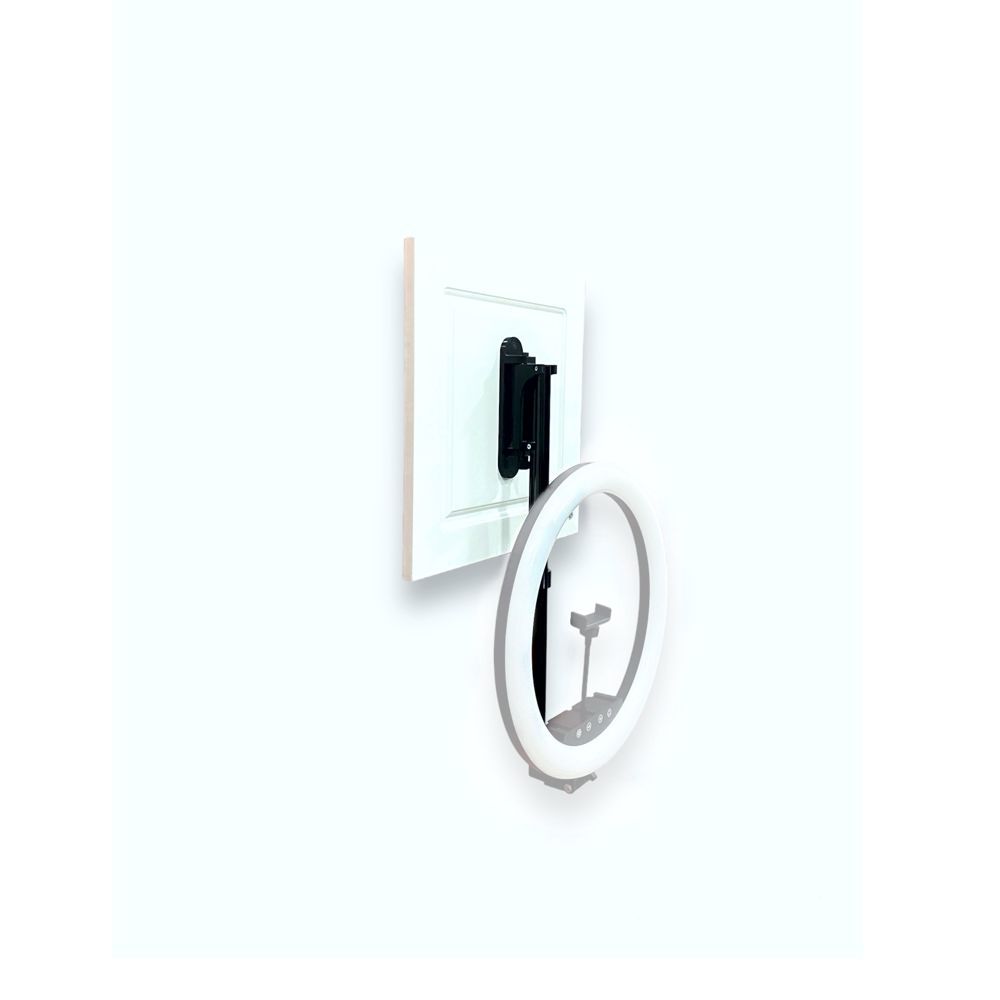
First, mark the holes corresponding to the wall section using a pencil and drill the wall.
We recommend that you drill with the appropriate bit for the dowels sent to you.
Replace the dowels you have drilled and tighten the screws sent to you by aligning the wall hanging tripod.
Check the wall hanging piece to ensure its stability. We recommend that you make it from a wall piece without hanging it on the arm part.
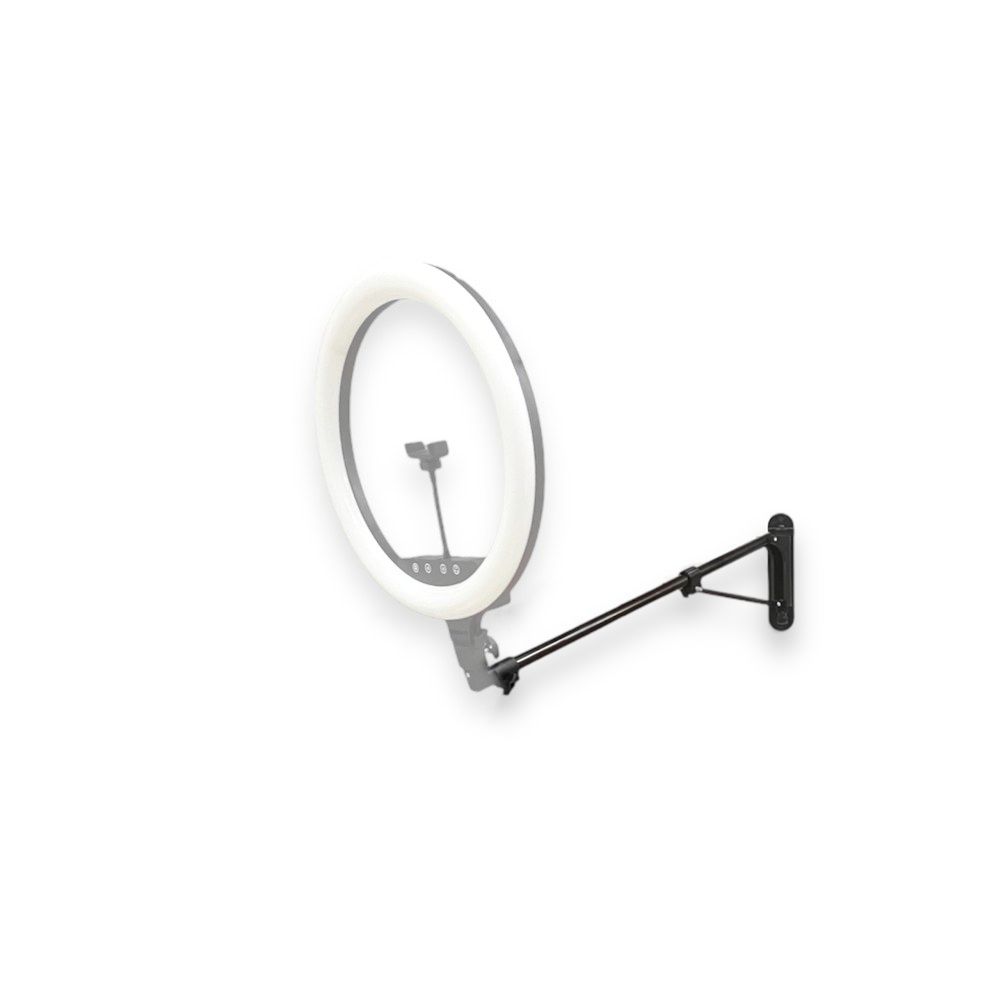
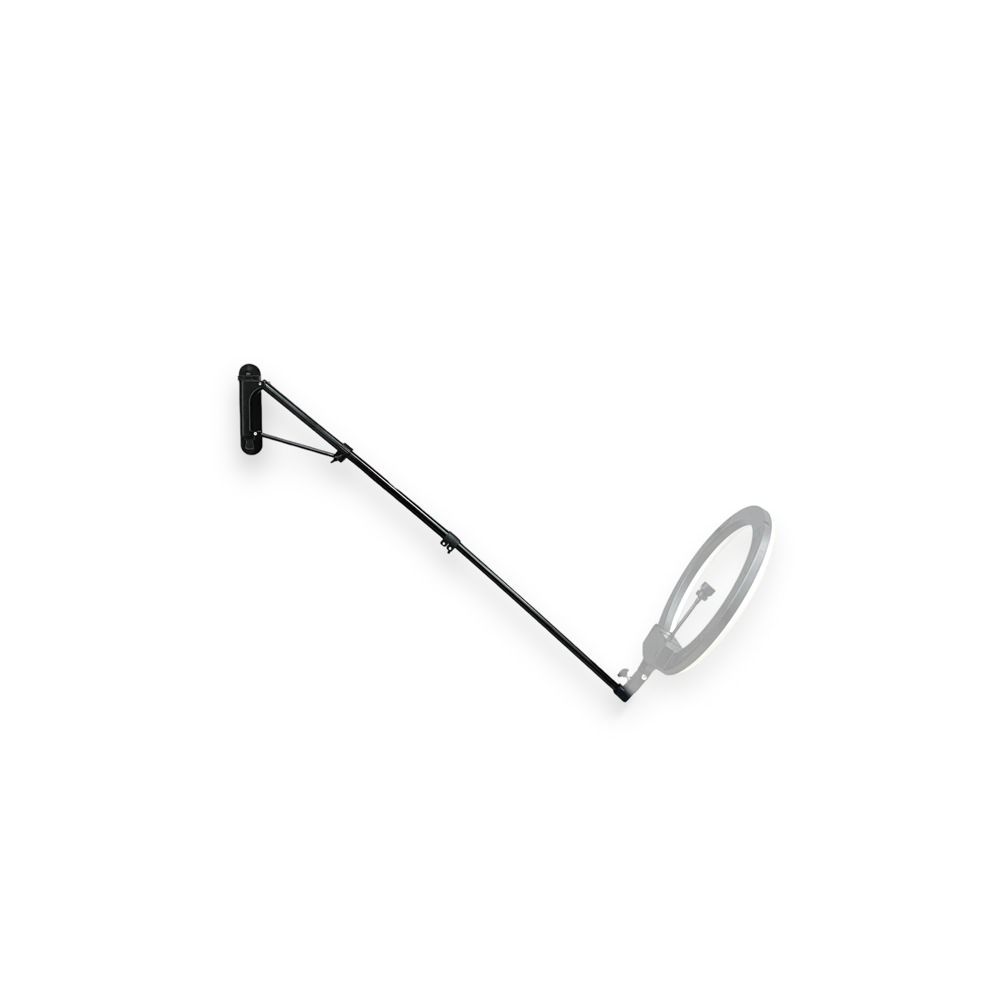
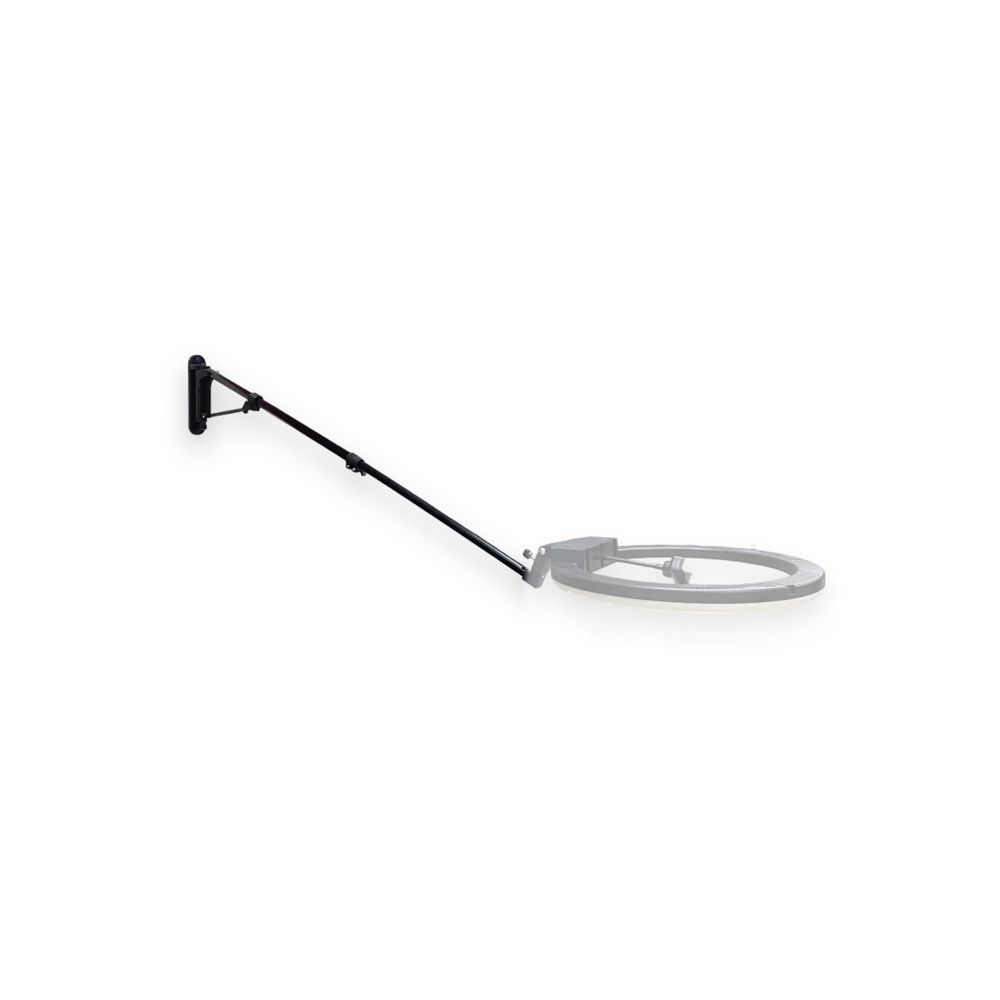
After completing the Wall Section, to move your processing area to an easier position to install your beam;
1 The nut in the numbered area is to prevent the arm from turning left and right.
2 The number wing nut is for fixing the up and down movement of the arm.
3
The butterfly in the numbered area is used both to extend the arm and to rotate the head 360 degrees around itself.
After completing the positioning process, place the tripod holder under your light on the screw section number 4 and tighten it clockwise. Squeezing the appropriate amount will be enough. You do not need to apply excessive force.
After fixing your light in place and moving it to the desired position for use, place it into the clips sent to hold the cables.
To change location, follow the instructions above.
For safety reasons, do not apply pressure or force.
Important Notices
# Do not remove or tear the serial number on the side of your light.
# Do not wrap your light with stretch or nylon products.
# Since the front panels of the light have a detachable and washable design, you can remove them and wash them.
# If the panels of the product received from the cargo are messy, watch the video here.
# Importantly, be sure to follow the instructions when bending or turning.
# For any problems, please contact our company.
Home page